


Houses get damaged – it’s a fact of life – but damage to walls always seems to stump people, so knowing how to plaster walls and a few handy home plastering tips can help work wonders if your walls are cracking up.
You can get holes in plasterwork for many reasons: maybe the plaster is old and wearing out or has been damaged, maybe some drywall (plasterboard) has been bashed, or even – and this is more common than you’d think – someone’s put their foot through the ceiling while trampling around in the loft.
Recommended: Read our guide on how to paint a room.
How to repair plaster walls guide
Whichever way it happens, damage to walls is always unsightly and always needs a bit of planning to sort out. Here are my top plastering tips for patching holes…
Plastering tips – tools you need
- Pencil (when do you ever NOT need one?)
- Spirit level
- Stud detector (if you’re repairing a stud wall)
- Drywall saw (or pad saw)
- Tape measure
- Stiff brush (a dustpan brush is fine)
- Soft brush – anything bigger than a 2” brush is fine
- 25x50mm wood – enough to frame your hole if you’re repairing drywall
- 40mm drywall screws
- Roll of scrim (course fabric, for if you’re repairing a solid wall)
- Some primer, or PVA
- Plasterer’s trowel
- Repair plaster
- A few sheets of fine sandpaper, 80-100 grit
Recommended: Simple eco-friendly home improvements to help minimise waste.
Time needed: 2 hours
- Work out which type of wall needs repairing
This advice covers two types of wall. Drywalling (or plasterboard) goes onto studding. So stud walls are the hollow kind, usually made up of a frame of wood covered in sheets of plasterboard or in plastered laths (thin strips of wood nailed to the studding). Holes in these are usually pretty easy to fill, but you’ll need to fix some new plasterboard into the hole before you can make it good.
Solid walls are walls that are… solid! Usually, they’re made of brick or block, plastered over with a bonding plaster (or a stuck sheet of plasterboard) and topped with finishing plaster. These walls are unlikely to need any framing or plasterboard fitting but will need more than one layer of plaster to repair.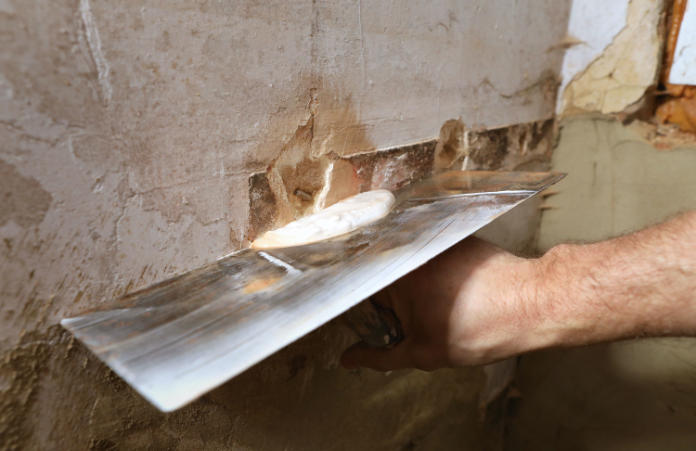
- How to repair plaster walls – damaged stud walls
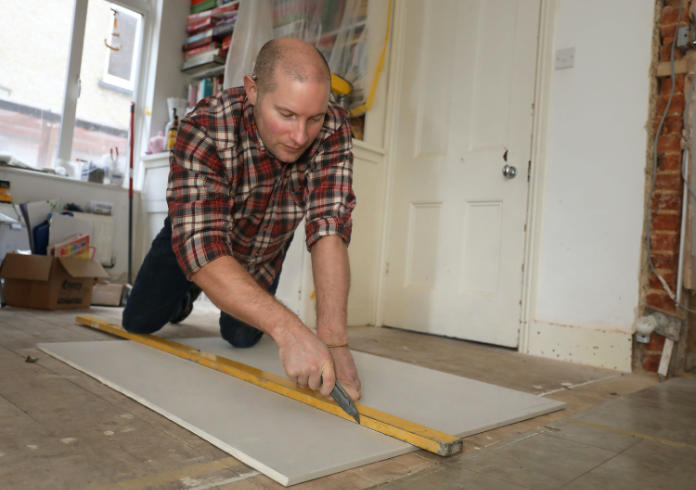
Before we start filling and smoothing out our surface, we need to fix the hole. For stud walls, this means more cutting. Using a spirit level, mark horizontal and vertical lines on your wall to make a rectangle that closely fits the shape of the damaged area. Then, using a stud detector, check that you have no studs, pipes or wires in that area and cut out the rectangle using a drywall saw. Put a sheet down when sawing, as this can be a dusty job.
Once you have cut out the rectangle, you can use a tape measure to check the depth of plasterboard needed to go back in – usually, this will be either 9.5mm or 12.5mm for plasterboard studding, but you can double-up the thickness of boards to fill in lath and plaster studding. Cut your plasterboard to the size of the hole (minus 2mm around each edge for wriggling in) and set this aside.
With your neat rectangular hole in front of you, you need to create a wooden frame within the hole to attach the replacement plasterboard to. Using your 25x50mm wood, cut four pieces to attach to the inside of the hole. With the 50mm wide wood, 25mm should be visible and the other 25mm should be screwed to the existing plasterboard inside of the hole. Hold the wood in place as you screw into the wall and be careful not to screw into your hand! Once the four pieces surround the inside of the hole, you can screw your replacement rectangle of plasterboard into the hole onto this wood.
Tape a layer of plasterer’s scrim over the edges of your hole. This prevents cracks from forming in the plaster when it dries. You are now ready for finishing.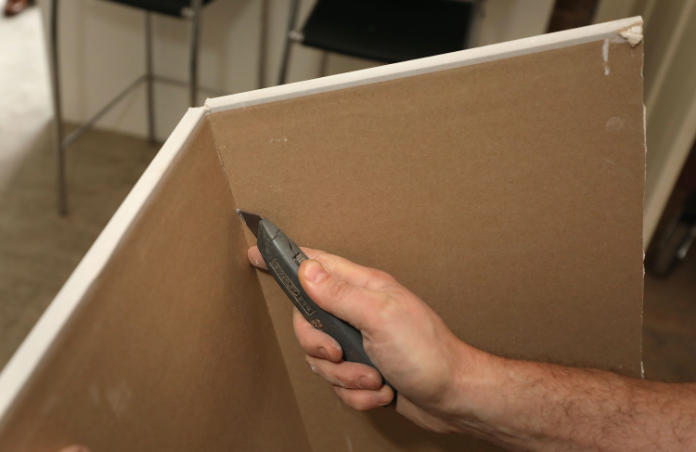
- How to repair plaster walls – damaged solid walls
For solid walls, you’ll need to crack out your plasterer’s trowel and a brush. Also, make sure you are sheeted-up well, as this can get a little messy…
To start, you’ll need to remove all the loose plaster – use a stiff brush for this. Next, you are going to need to make up some primer. You can either buy this or make the primer with PVA glue in a ratio of 5:1 (water to PVA). This solution will stop the dry surface of your damaged wall from sucking all the water out of your repair plaster, and allow it to dry well and stick to the wall. Paint it liberally on to the damaged area, so it soaks in, and clean your brush immediately afterwards or it will be ruined.
For damage more than 5mm deep, you will need some repair plaster. This comes premixed, which is by far the cleaner option compared to knocking up plaster from dry. Scoop it out using your plastering trowel and press into the damaged area, scraping the trowel from the middle of the hole to the outside edge. Spread more plaster into the hole until it is filled and smooth to 3mm shy of the finished surface. You can work this out by laying a spirit level, or straight piece of wood over the hole so that it touches the undamaged edges and checking whether your plaster is touching the straight surface.
Use your trowel to scrape any plaster residue from the undamaged surface of the wall and leave for about an hour to firm up. Clean your trowel and put the lid back in the plaster to stop crusty, half-dried plaster from ruining the final stage.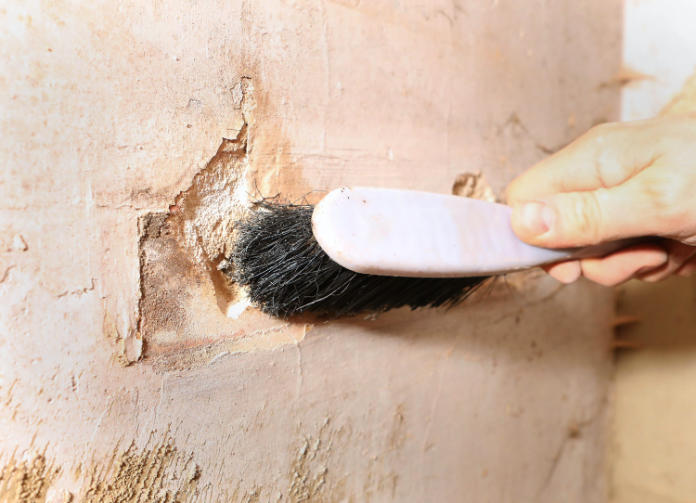
- Finishing the plaster walls repair
Whether you have just plastered a hole or put scrim on your plasterboard patch, you are now ready to finish your repair. You can use the same repair plaster mentioned above, but you are now going to feather it away on the wall – spreading it out to nothing. First, you’ll need to strip away any loose wallpaper around the hole.
Next, using a soft brush, clean away any dust and grit around your repair. This is important for the last stage, as a few specks of grit in your finish plaster will drag across your work and ruin the finish.
Wet the surface with a little primer (as described above). Scoop a small amount of plaster out of your tub and spread onto the surface, going from the middle of the damage to the outside edge. You will need to spread this beyond the patch and onto the surrounding wall very thinly, so the joint disappears. Don’t worry, with a little patience and perseverance you can do this, and you can always sand-off any ugly ridges in the plaster once it has fully dried. If the plaster begins to drag or dry up on the edges of your repair, you can use a wet brush to keep these thin areas of plaster damp enough to work with.
Once you’re happy with the finish, it’s time to clean up. Leave your sheet down on the floor until the following day if you can, so you can lightly rub the surface with sandpaper and get rid of any imperfections.
You have now patched some plaster – but keep quiet about it, or you’ll get the job when your mates’ rental contracts are coming up and they need their deposits back…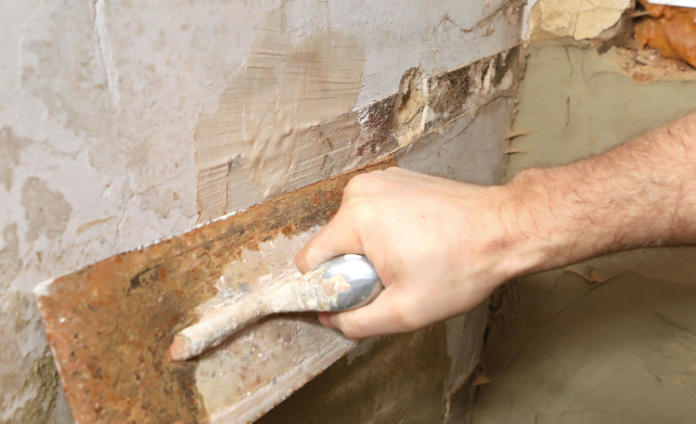
Best-selling plastering tools
Stuck for inspiration? Check out our list of best-selling Amazon products!
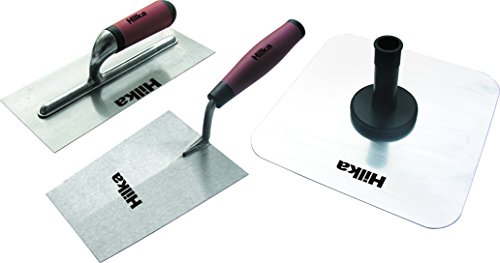
- Comprehensive kit suitable for most plastering tasks with alloy steel blades fully hardened and tempered
- Polished with natural lacquer for protection with ergonomic bi-material soft grip handles
- Contents: 12" x 12" plasterers hawk, 11" finishing trowel, 7" bucket trowel

- SET 11 PCS
- Taping knife 40, 60, 80, 100, 150, 200, 250, 300, 350, 450, 600mm. Plastering spatula
- Stainless steel blade with plastic handle.

- Manufactured from a robust ABS plastic
- A light and durable plastering float
- Easy to store
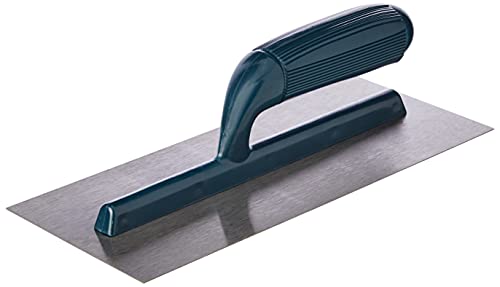
- 11" Plastering Trowel
- 280 x 110mm with polished face
- With a tough plastic handle

- Plasterers hawks
- 330mm x 330mm
- Easy to use
Last update on 2024-04-09 / Affiliate links / Images from Amazon Product Advertising API
You may be interested in…
This article may include affiliate links to products and services where we may receive a small fee to support the running of this site if you make a purchase or is a sponsored article from one of our select editorial partners providing valuable advice and information to our readers.


