


In the pantheon of DIY tasks, painting a wall is not one of the trickier ones. There’s a lot of setup, a few must-remembers, and more-than-expected physical exertion, but otherwise it’s low-level stuff. However, while it’s straightforward, knowing how to paint a room well will make a huge difference to the finished DIY project.
Unfortunately, what painting lacks in difficulty, it makes up for in risk. Your walls are your home’s desktop background and screensaver rolled into one, so when it comes to do-not-want-to-mess-up factor, room painting ranks alongside replacing your front door.
So, if you need or want to repair your paintwork, renovate a property, or just refresh your rooms with a fresh colour, here’s everything you need to consider. A good coat of paint is about 90% preparation – don’t say you we didn’t warn you.
Read the Wise Living guide for how to fit and hang a radiator.
How to paint a room – general tips
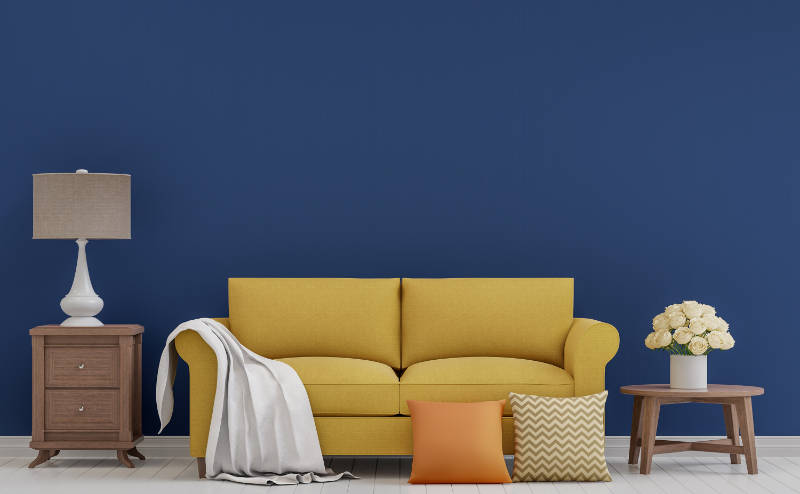
1. Consider your colour
What the sky is outside, a paint job is inside (and just think how much weather can determine mood), so you need to think carefully about your desired tone. Brighter colours can be energetic and invigorating, while more muted shades are softer, more atmospheric, and less assertive.

“If you’re nervous about your colour scheme, start with neutral colours inspired by nature,” says Marianne Shillingford, creative director of Dulux. “Clay, stone, sand and wood work with each other and every other colour, so can be the bedrock of any decorating scheme. Use bolder colours in smaller amounts on furniture and skirting boards to help bring the room to life.”
Deeper shades can be rich and rewarding, but they do shrink a room and require a certain amount of management. “Using dark colours can work in places we want to be grown-up and relaxed,” says Shillingford. “The key is to use layered rather than overhead lighting, and on all walls not one or two.”
You can even mix up your colour scheme; slapping some colour onto an ‘accent’ wall can brighten up a room that’s playing it safe. It’s common to paint ceilings a lighter hue though, to avoid any feeling of claustrophobia.
Read the Wise Living guide on how to add value to your home.
2. Mistrust your judgement
We don’t want to point any fingers, but your main danger may come from your own conviction. “The biggest pitfall,” says Anita Mullane, colour consultant for Colourtrend, “is that customers go into the shop, pick a colour, get it mixed on the spot, put it on the wall, and find that it’s completely wrong.

“Lighting is huge,” she adds. “In store, you might have bright, white light shining down on it, which might be completely different to the light you have at home. Take a tester pot home, paint an A4 card (two coats), and then move it around at different times during the day. Take it into dark corners and lighter areas so you can see how the colour changes.”
The colour may change further in different rooms – depending on orientation. North-facing rooms will get a lot less sun, while south-facing spaces may be lit in abundance. This changes with the seasons too, and you want to be as happy in the blazing sun, as you are curling up in the depths of winter.
Finally, consider any given room’s function before you charge in. “A kitchen is a workspace, and generally you want workspaces to be brighter,” says Mullane. “The living room on the other hand, might be somewhere you retire in the evening, so perhaps prioritise something more chilled out. In the bedroom, deeper colours often allow you to sleep better.”
3. Prepare your surfaces
First of all – and we can already hear the groans – you’re going to have to do some cleaning. There’s not much point redoing your living room if the paint flakes within a week, so give your intended surfaces a thorough dust and wash them down with sugar soap.
Allow the soap to sit for a few minutes, then do a wipe-down with clean water. Sugar soap can irritate the skin so wear rubber gloves, and don’t let it drip in your eyes when cleaning the ceiling.
If there are holes, cracks or imperfections, now’s the time to marshal them. Most commercial fillers will do the trick – take advice if you’re uncertain – and leave time to dry before moving on. Next smooth down unwanted protrusions with medium sandpaper, and give the whole surface a once over. The slight roughness that results helps improve the paint’s grip.
This process produces fine dust, so don a mask. When you’ve finished, you’ll need to vacuum the whole room (yup – the ceiling too). Dusty paint is not a good look.
4. Don’t be a mucky pup
Room painting is a messy business, and you’ll need to paint-proof your furnishings from splash damage. If you can, empty the room entirely, but if that’s not possible then create a pile in the middle of the floor that you can cover with dust sheets or plastic.
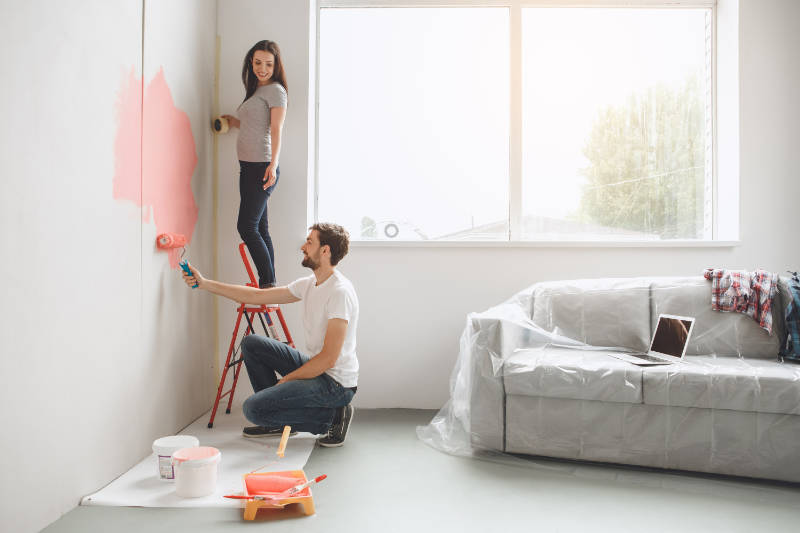
Remove or cover light fittings and door handles, and use masking tape to protect the edges of doors, windows, sockets and skirting boards. Finally, don’t skimp on the drop cloth – however dexterous you are, paint will splatter.
Running out of product part way is a right pain in the paintbox, so measure the area of your walls to ensure you buy enough.
Otherwise, you need brushes and rollers, and if you’re doing the ceiling then a roller on a pole too. It’s worth investing in high-quality products, as hair coming out of your paintbrush halfway through can really ruin your finish. Consider picking up an angled brush as well – it helps reach those awkward corners.
5. The moment of truth
So, you’ve picked your colour (and tested it rigorously), you’ve cleared your schedule and your floor space, prepped your kit and scoured your surfaces… Can we finally start painting now, please?
If you’re repainting the ceiling, always do that first. Begin by ‘cutting in’ – using a brush to create bands of paint around obstacles like light fittings, and along the edge where ceiling meets wall.
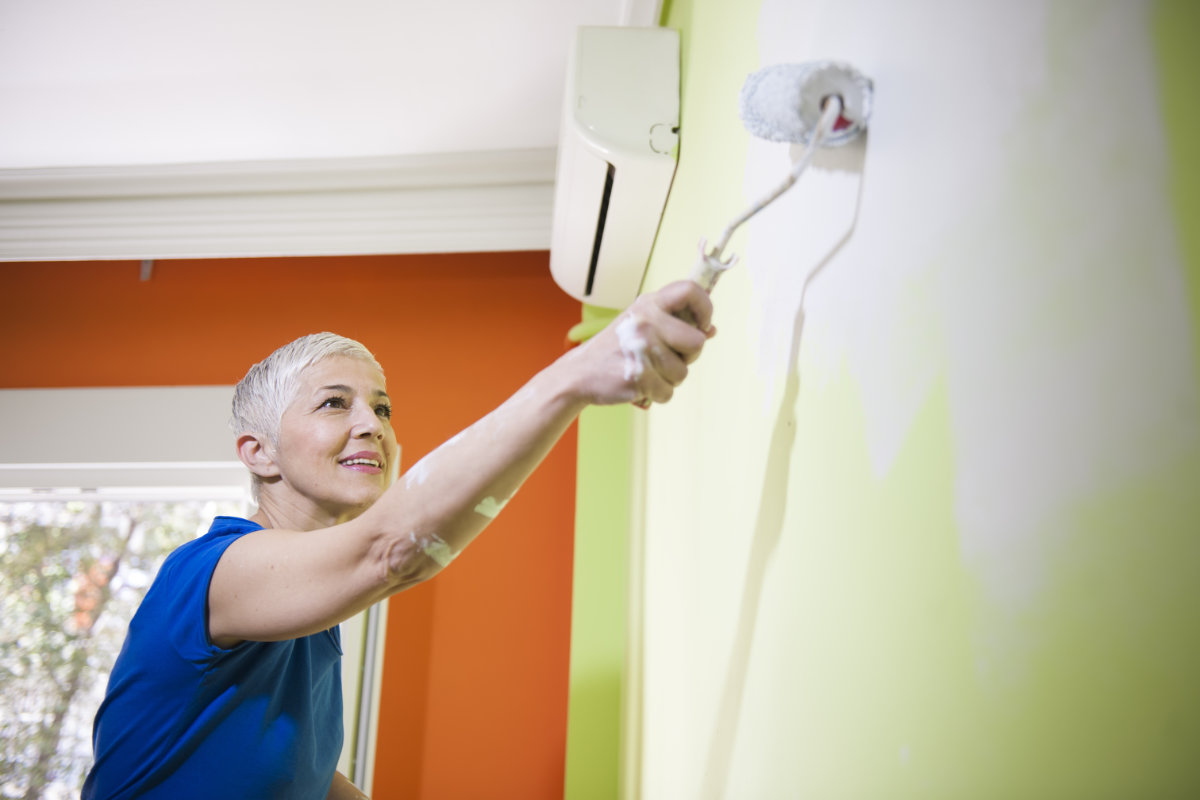
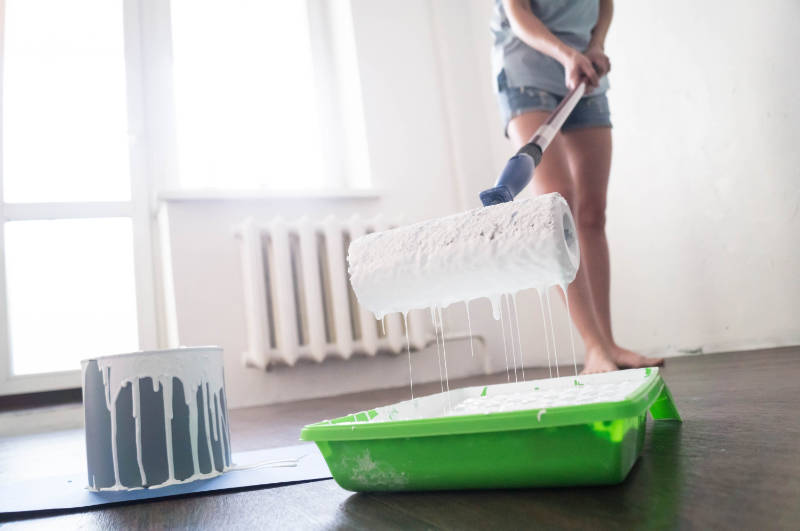
Now the moment you’ve all been waiting for. Fill your reservoir tray about a third-full of paint, roll paint onto the roller and go to town – no wrong answers. If you’re doing more than one coat, let the first coat dry – a la the instructions on the pot – before applying the next one, and make sure you’ve finished the ceiling before turning to the walls.
Painting walls is much the same, if a little less knackering. Use a shorter-handled roller that’s easier to manoeuvre. Clean up, refill the room, survey your handiwork, and hope against hope you haven’t painted over a light switch.
Shopping for new windows? Read the Wise Living guide to the pros and cons of double glazing.
How to paint a room – step-by-step guide
Determined to get that fresh lick of paint on once and for all? Follow Richard Burr’s step-by-step guide for how to paint a room like a pro.
Time needed: 1 day
So, a weekend’s coming up when you’ve got nothing planned – time to decorate that room you’ve been putting off for ages.
Most people spend months or years planning to decorate rooms in their houses and never get around to it. The reasons are all fairly similar – the room is too full to work in, they haven’t got all the right equipment or they don’t know where to start. But if you’re stuck in a bit of a rut with rooms in your house, don’t worry – I’ve got you covered with my top tips for decorating a room…
- What tools you need to paint a room
Plastic sheeting
Masking tape
Light sandpaper
Screwdrivers to take down wall hangings
4” paint brush, 2 x 2” paint brushes, roller and roller tray
Step ladder
Paint
Undercoat and topcoat for the woodwork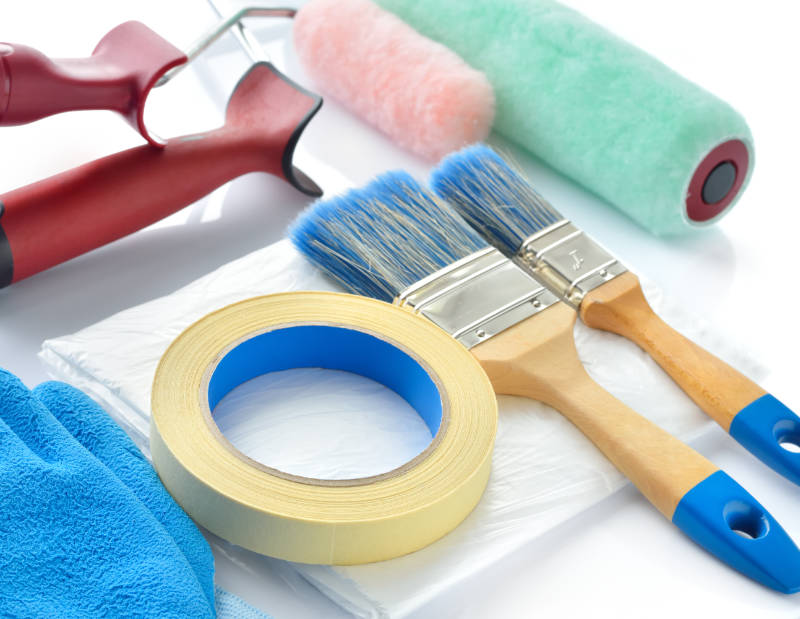
- How to choose paint
When it comes to choosing paint, the choice is endless. My local DIY store, Designer Colours, can mix up any precise colour you like. You can take in an item and they’ll scan and colour-match it for you.
To work out how much paint you need, calculate the area of your ceiling and walls, and remember you’ll be doing two coats. A 5L tin covers about 50m2, but this can totally depend on the thickness of your paint, so check the back of the tin.
I’d recommend using acrylic undercoat and top coat, as it has a quicker drying time and less fumes. Do not use an oil-based and an acrylic paint together. If you use an oil-based paint, you’ll need white spirit. Everything else washes off with water.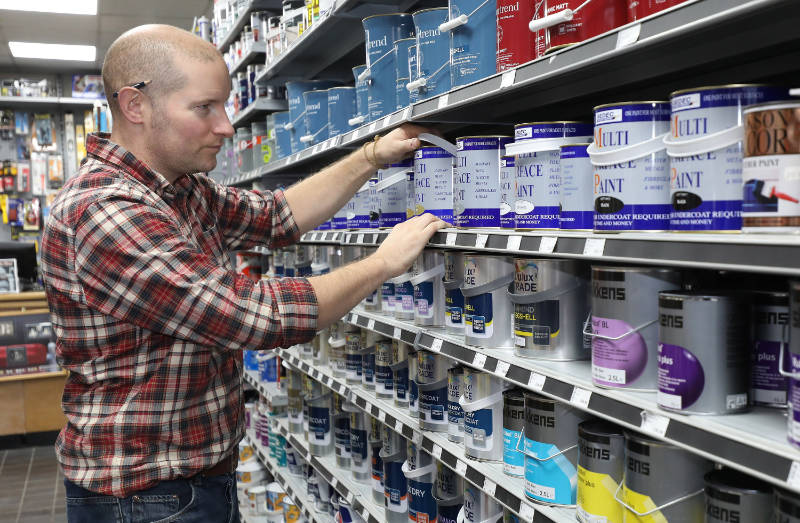
- How to prepare a room for painting
There is no point walking into a room, cracking open a tin of paint and slopping it over all the exposed surfaces you can see. You need to prep – this takes a few hours, but will make the whole job easier, cheaper, better and, most importantly, you won’t spill paint all over the sofa. If you’re doing this over a weekend, I’d recommend doing as much of this prep on the Friday night, so you have more time to paint on the following days.
Start by moving all the heavy stuff (sofas, beds, bookshelves, TVs) in the room into the centre, leaving at least a 30cm gap between your furniture and your walls all around. Next, take down any curtains, blinds or nets and lay these on the furniture. Now lay any wall hangings, pictures and light shades on your curtains, and cover the whole thing up with plastic sheeting. Try to avoid cotton or twill sheeting – this won’t keep dust out or big blobs of paint (if you drop any).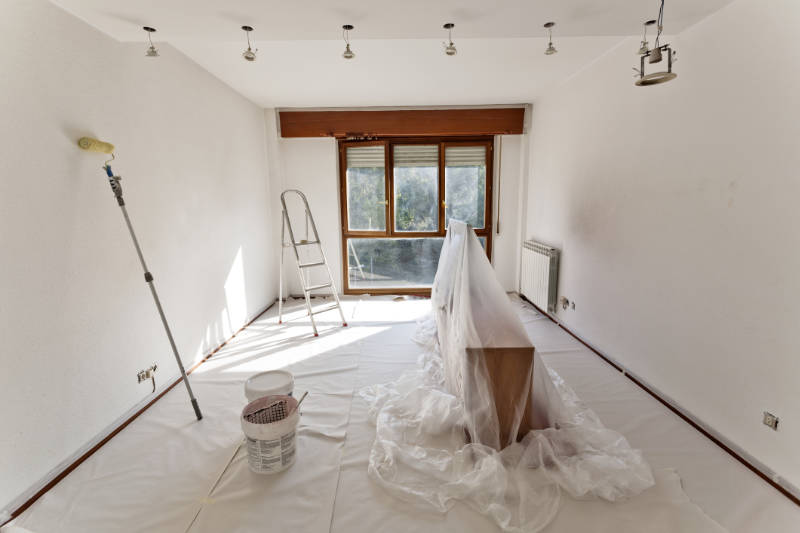
- How to sand your walls ready for painting
With your valuables covered up, it’s time for a bit of sanding. Using 80-grit sandpaper, lightly rub all your woodwork – the skirtings, architraves and doors. Make sure to rub only the face of the door that looks into the room, unless you’re planning on decorating the hall too.
Once all the sanding is done, get the vacuum cleaner out and give everything a thorough clean, making sure not to miss the tops of the doors, architraves and skirtings. You may need to clean the woodwork with a damp cloth and some washing-up liquid. I’m not judging you on your cleanliness, but some rooms can be greasy and paint doesn’t stick to grease.
Read the Wise Living guide to how to sand a floor and paint it to perfection. - Use masking tape
Now you are cleared, sanded and cleaned, it’s time for the masking. Use 50mm decorators’ tape to mask where your floor meets the skirting boards. Whether your floor is carpeted or smooth-surfaced, it is a good idea to do this, as it stops drips and saves you from having to cut-in the paintwork against the floor (painting a straight, neat line around the boundary and then ‘colouring in’ inside the lines). If you are planning on painting around wooden windows, you can mask these up too – it takes ages, but saves much more time in cutting-in and scraping paint off of glass.
- Cover floors with plastic sheeting
With the masking all done, all you need to do is put plastic sheeting on the floor (you can cut a large plastic sheet into long wide strips with scissors – this will make it a lot more useful) and after all that, you’re finally ready for the fun stuff!
- Start painting your room
Paint the ceilings first – that way any drips or spots will not muck up other bits you’ve already done. Use a 4” brush to paint around the top edge of your ceiling. If you’re painting the walls later, you don’t need to cut this ceiling paint into them, as you’ll be painting over the top. Once you’ve painted around the edges of the ceiling, use the same brush to cut in around any lights you have.
With the edges still wet with paint, use a roller to put the first coat on the ceiling. Pour some of your paint into your roller tray and begin painting. Start in the corner of the room and work outwards from there, painting in small sections and always rolling back into your wet work.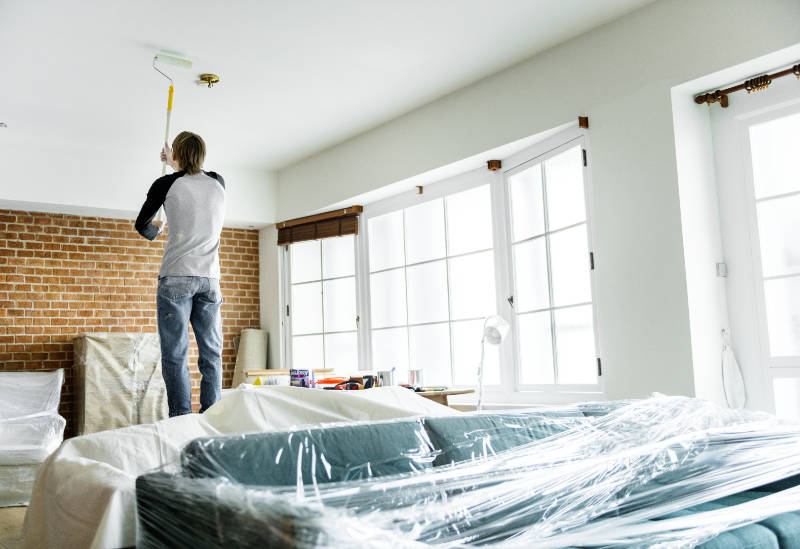
- Next, start painting any woodwork
Once the first ceiling coat is done, wrap the roller in a plastic bag and start undercoating the woodwork.
To undercoat, take your 2” brush and start painting the skirting. Because you haven’t put any paint on the walls yet, you can coat the woodwork with no need to cut-in – this will make the work go much faster. - Painting the ceiling
Once the undercoat is done, your ceiling should be dry enough to lay on your second coat. Use your 4” brush again to paint the edges of the ceiling, and then roller the rest. Wash the roller out and leave it to dry. You now have an hour or two to go outside and get some fresh air before you start the final stretch.
- Painting the walls
When your undercoated woodwork has dried, you can start painting the walls. Working on one at a time, use the 2” brush to cut-in the line between the walls, woodwork and ceiling. Once one wall is fully cut-in (including around the light switches, sockets and any wall-mounted light fittings), pour some paint into the well of the roller tray and start painting the wall.
Start in one corner and roll up and down (rather than side to side), making sure you cover a roller width of the wall fully from top to bottom before moving on to the rest of it – this way, you’ll always have a wet edge of paint to roll onto, which will reduce your chances of having any streaks. Once you’ve finished rolling one wall, repeat the cutting and rolling process for every other wall in the room.
Depending on how fast you are at painting, or how big your room is, by the time you’ve painted all the way around your room, the wall that you started on should be dry, or at least nearly dry. Once it is, you can paint on your second coat in the same way as you did the first. Then, clean out your brushes and roller before the paint dries on them. - Finishing off paintwork
Now for the last bit of painting. Use some fine sandpaper to lightly brush any imperfections off your undercoated woodwork – don’t rub too hard or you’ll go through the undercoat and have to repaint it. Whichever topcoat you choose for your woodwork, be aware that it is most likely to drip easily – drips that will show on your finished job – so be careful not to load too much paint on your brush.
For the last coat, use a 2” brush on the woodwork. Paint the architraves and skirting boards first, remembering to keep an eye on the paint you’ve recently applied – you can use your brush to wipe away drips you might not have noticed earlier on, if your paint is still wet. - Painting a door
Lastly, paint the door. Paint the mouldings around the panels first, then the panels themselves, then the broad strips of wood that make up the rest of the door. Brush the paint in the same direction as the grain of the wood (this will be easy to see if you look closely at the door).
Leave this final coat of paint to dry fully (usually overnight) before peeling off all the masking tape and rolling up all of your plastic sheeting. After having protected your room for all this work, your plastic sheets will be in pretty poor condition, so roll them in on themselves to contain all the dust, paint and rubbish, and put them straight in the bin. - Put your room back together
Put back all wall hangings, curtains and light fittings and rearrange all the furniture, before flopping onto the sofa for a well-earned cup of tea.
Best-selling paint brushes for decorating
Stuck for inspiration? Check out our list of best-selling Amazon products!
No products found.
You may be interested in…
This article may include affiliate links to products and services where we may receive a small fee to support the running of this site if you make a purchase or is a sponsored article from one of our select editorial partners providing valuable advice and information to our readers.


