


Many older homes have chimney breasts, offering a great opportunity for storage in the alcoves – and our guide on how to build alcove shelves is a great starting point.
With three kids and all the kit they come with, my shelves are often overloaded, so I need mine to be able to withstand quite a bit of weight.
How to build alcove shelves – DIY guide
Here is my 5-step guide for giving it a go yourself…
Time needed: 3 hours
How to build alcove shelves – a DIY guide
- Measure each shelf
Before you start, think about what will be going on the shelves. For example, if I’m building bookshelves, I’ll often make the bottom one or two shelves taller for larger books. Most houses with chimney breasts are a little older, and so the walls aren’t necessarily going to be straight, so you’ll need measurements for each individual shelf.
Once you’ve decided where your shelves are going to be, use a spirit level to draw a straight line in pencil, along the back of the wall, for each shelf. If you don’t have a spirit level, there are apps you can use on your smartphone that can do the trick. Record the length of each shelf as you go.
Next, measure the depth of the alcove, or how deep you want your shelves to be, bearing in mind you may put a wood fascia on the front.
- Choose the right wood for your alcove shelves
There are two types of wood I use to make sturdy shelves: 18mm MDF and prepared timber, 25 x 50mm. This is sometimes called PAR (planed all round) timber. You may also want to put a fascia on the front of your shelf, so you’ll need thin wood, for example, 13mm x 70mm prepared timber. You’ll be using the MDF for your shelf, the 25 x 50mm prepared timber to make a frame for the shelf to sit on, and the 13mm x 70mm prepared timber for your fascia.
You’ll also need the following tools:
Tape measure
Panel saw (even if you’ve had your wood pre-cut, you may need to adjust it)
Drill with a 7mm masonry bit
A 5mm high-speed bit
A Phillips head screw bit
Spirit level (or app)
Phillips screwdriver
Two-part filler
60-90 grade sandpaper
A scraper
Brown Rawlplugs
5 x 70mm screws
5 x 50mm screws
40mm panel pins
Hammer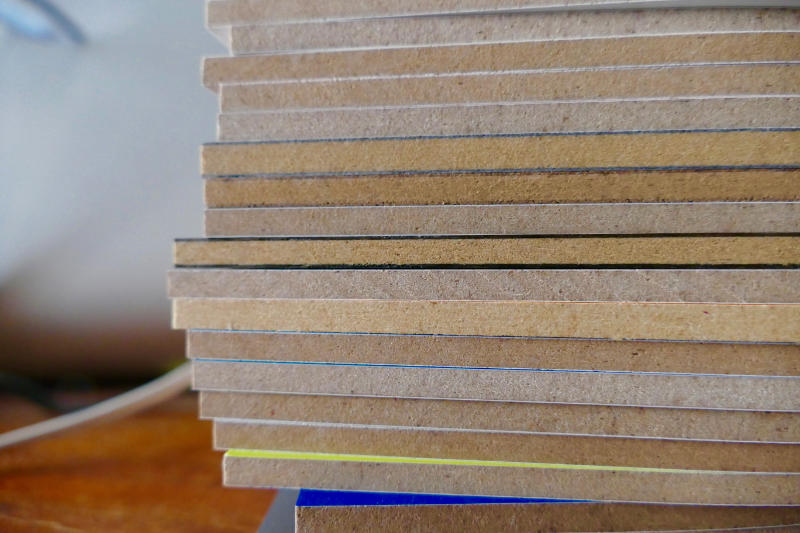
- Saw shelves to length
Most DIY stores and timber yards will cut your wood for you, charging a small amount per cut – very useful if you don’t fancy an afternoon covered in sawdust!
If you’re making two shelves, you’ll need the following materials:
4 x long pieces of 25 x 50mm prepared wood to the width of the alcove
4 x short pieces of 25 x 50mm prepared wood to the depth of the alcove, minus the depth of the front and back pieces of wood, and the fascia if you’re having one
2 x rectangular pieces of MDF to be your shelves
2 x long pieces of 13mm x 70mm prepared wood for your fascia
If you want to saw the wood yourself with a panel saw, you need to work outside, as the MDF dust will get everywhere. You need something solid to lean on while you’re doing your sawing, but if you’re using your garden table, for example, don’t saw through your wood and into what’s beneath it! A workbench is ideal and you can pick one up new for about £10.
When you’ve measured your wood and drawn your line on it, the safest way to use a panel saw is to put your thumb on the flat surface of the saw (as above) as a guide to get your cut started. This will stop the blade from wobbling about and doing you some real damage. If you’re nervous about this, work slowly and gently. Once you’ve cut through the first bit of wood, your thumb won’t need to hold the blade any more. Use the full length of the saw, forward and backwards, nice and smoothly.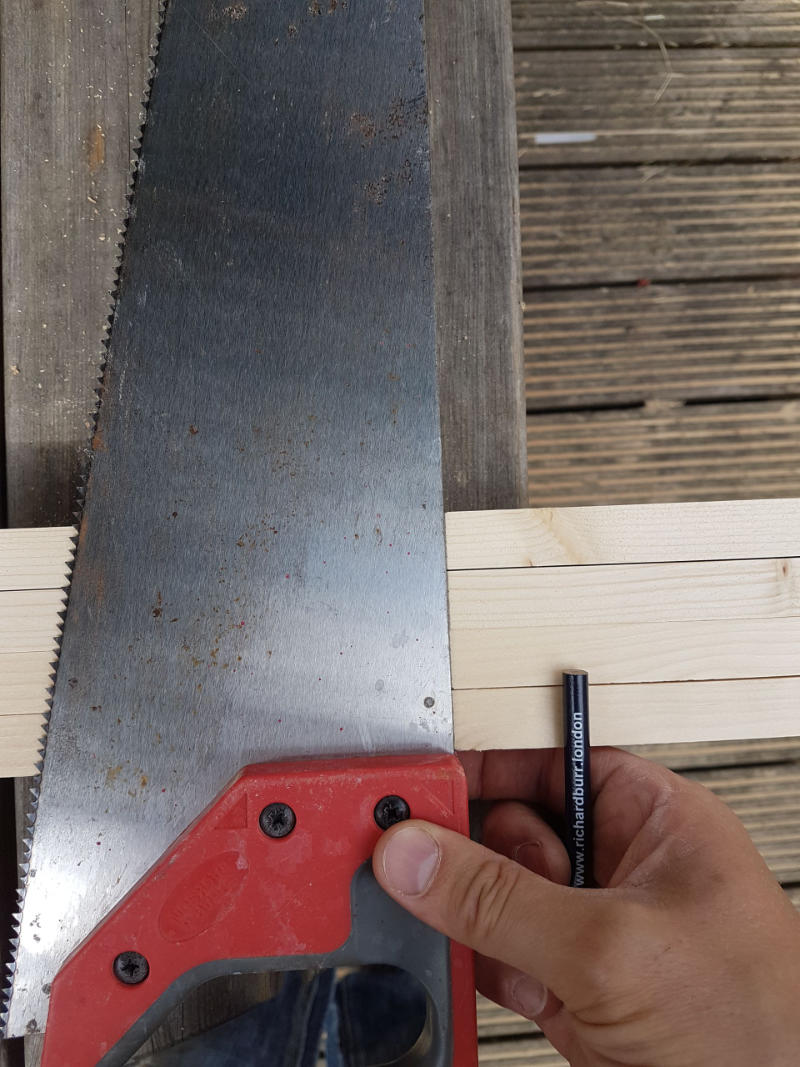
- Measure out your drill holes
If you’re building shelves in an alcove with a fireplace next to it, it’s likely to be a brick wall, so you’ll need to use your drill. Check that there are no plug sockets above or below where you’re drilling. If there are, don’t drill in the space directly above or below where your socket is.
Take your long piece of wood for the back of the frame and, with your 5mm high-speed bit, drill three holes in it – one in the middle and the others about 10cm away from each of the ends. Hold this piece of wood against the line you’ve drawn for your shelf. Put the drill back through the hole and lightly tap the trigger to make an indentation in the wall to show where you’ll need to drill.
Swap to your 7mm masonry bit and drill three holes in the wall. Insert your Rawlplugs – you may need to knock these in with a hammer to make them flush against the wall. Poke your 70mm screws through your wood, position it in place so the screws are sitting against the Rawlplugs, then screw them in with your Phillips screwdriver (or Phillips bit on your drill) until the wood is tightly fixed. If you’ve accidentally gone off level with this piece of wood, a light tap with your hammer should get it back into place. Repeat this process for the short ends, but use two holes/screws instead of three.
To put the front of your frame on, drill two holes at each end of your long wood, about 12mm in. Screw the front of the frame to the side sections, two 70mm screws at each end. Lay your cut shelf on top of this. To attach the shelf to the frame, you’re going to drill through the MDF. You’ll know when to stop as MDF is easier to drill into than wood. You need three 50mm screws down into the back piece, two 50mm screws into each side, and for added strength, five 50mm screws down into the front of the frame. Use your drill to screw these together.
You will find it too awkward to drill vertically, so it’s OK to do this slightly diagonally – just make sure the screw heads sink into the surface of the shelf. Nail on your fascia to the front of your shelf using panel pins.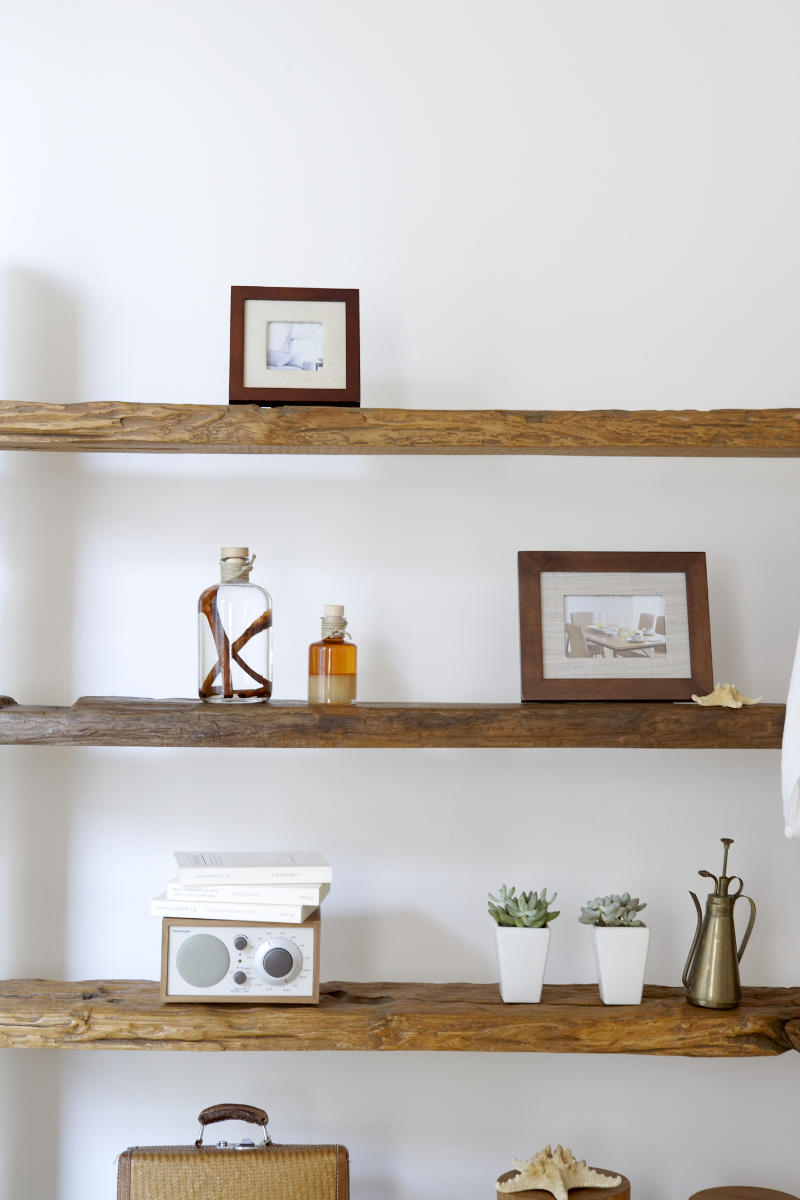
- Fill in your screw holes and paint
Mix up your two-part filler on the lid of its pot and work fast, as it dries quickly. Use your scraper to cover all the screw holes on the top of the shelf and the panel pins on the fascia, leaving it a little bit proud of the flat surface, so you have something to sand off once it’s set.
Vacuum everything up, then paint your shelves with a decent primer undercoat and topcoat with whatever suits your room, for example, satin, eggshell or gloss. And you’re done – hopefully our guide on how to build alcove shelves can help sort out your clutter while providing strong, sturdy storage for the whole family!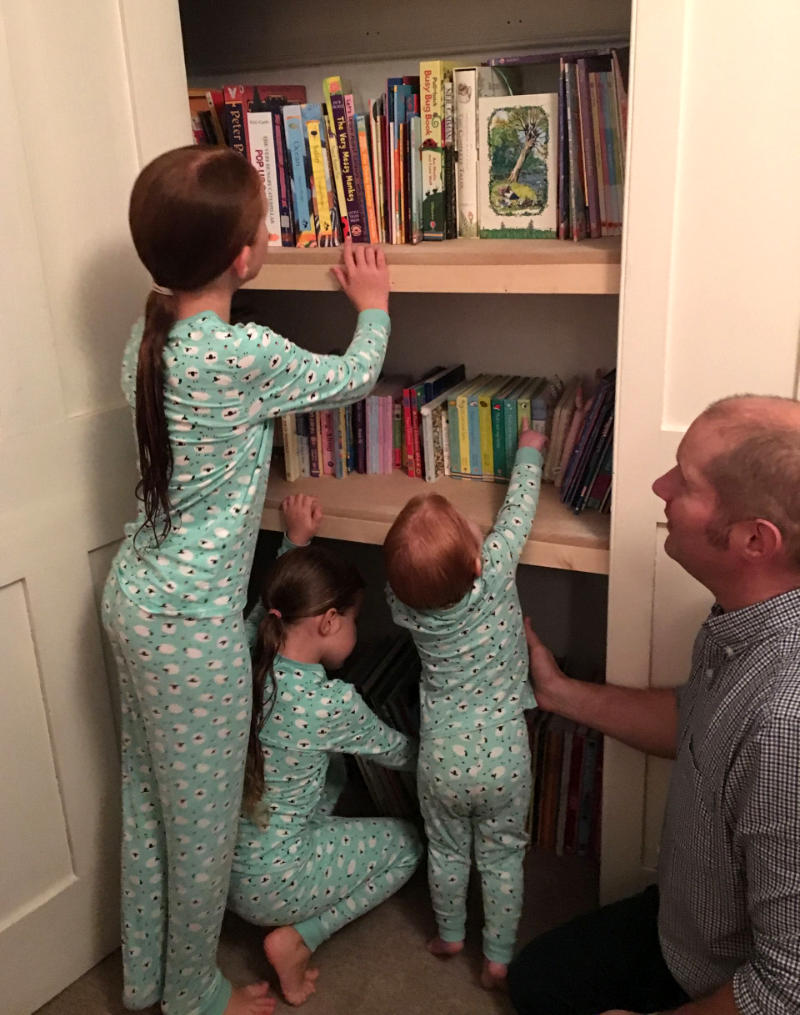
Best-selling shelves
Stuck for inspiration? Check out our list of best-selling Amazon products!

- Simple Assembly Wall Shelves: Nothing but some screws are needed to fix our floating shelves to the wall in few mintues. Simply designed with paulownia wood and powder coated metal brackets, our...
- Flexible Shelves for Different Wall: The unique design offers two unique display forms. Install our floating shelves with the board on top of the brackets or below, whatever suits your taste. Besides,...
- Sturdier and Solid Floating Shelves: Large: 42 × 15 × 2 cm; Medium: 36 × 15 × 2 cm; Small: 29 ×15 × 2 cm. Our floating shelves are wider and sturdier than others, which can be hold weight up to...

- FOR MORE&BETTER - Full Size Floating Wall Shelves: 16.5"L×6"W×0.6"H (SET of 5). Max Weight Capacity: 40 lb.
- STYLISH YET RUSTIC- Our floating wall shelves restore the carbonized color and texture of the wood itself through the charcoal roasting process, which can give you the modern/rustic experience. Our...
- EASY TO ASSEMBLE & DIY - Just 5pcs wall floating shelf boards (No pre-drilled holes) and 10pcs shelf bracket. Our floating shelf for wall décor is super easy to assemble and DIY. The metal bracket...

- [Minimalist Style] Display CDs, photo frames, decorations, and souvenirs on this minimalist corner shelf in your living room, study, bedroom, or kitchen and impress your guests with its stylish design
- [Reasonable Size] The distance between 2 shelves is 20 cm, offering perfect space for plants and other small items. The 20 x 20 x 126 cm size lets you make full use of corner space in small rooms
- [Stable with Large Load Capacity] The corner shelf is made of premium particleboard fastened with metal connectors, ensuring stability for displaying various items. Each tier can hold up to 6 kg and...

- 🏠【100% Solid Wood shelf】 : This rustic floating shelf is perfect for those who like to decorate a room and place memorable items in their home. Wall shelves allow your creativity to be...
- 🏠【For all walls: Dimensions】: Length 40cm x width 15cm. Country shelves are rich in natural wood grain and can be mounted on all walls, perfect for bedrooms, living rooms, bathrooms, hallways,...
- 🏠【Includes invisible accessories】: including solid stainless steel shelves brackets, expansion anchors. All mounting hardware is hidden to ensure that the shelves will hang securely on the...

- ►VERSATILE FUNCTIONALITY: This creative shelving unit offers multiple display forms. You can install these floating shelves with the brackets on top or below to best suit your taste. Choose your...
- ►STURDY & STRONG: The shelves are made from high-quality pine wood which makes them strong and durable with each shelf providing a load bearing capacity of up to 15KG (Per Shelf).
- ►EASY ASSEMBLY: Nothing but some screws are needed fix our floating shelves to the wall in few minutes. Light yet super sturdy corner rack, and all mounting hardwares included, super easy to...
Last update on 2024-03-30 / Affiliate links / Images from Amazon Product Advertising API
You may be interested in…
This article may include affiliate links to products and services where we may receive a small fee to support the running of this site if you make a purchase or is a sponsored article from one of our select editorial partners providing valuable advice and information to our readers.


