


Windy weather blown your fence down and need to know how to erect a fence? Never fear – Richard Burr reveals his expert advice on for getting the job done.
Fencing can be a rewarding pastime, whether it’s of the highly skilled sword fighting variety, or creating a sturdy barrier that provides privacy and security around your property.
At the end of our garden, we have a fence that, for most of the year, is mainly held up by ivy, brambles and raspberry canes. But now that the weather’s changed, the brambles have died back, and I’m unlikely to be trampling any flowers, I’m putting up a new one – and so can you with my top tips!
Recommended: Boost wildlife and reduce pollution with our planting a hedge guide.
Tools you need to erect a fence
You’ll need these 16 items before getting started.
- Gloves
- Crowbar
- Claw hammer
- Shovel
- Panel saw
- Rake
- Spirit level
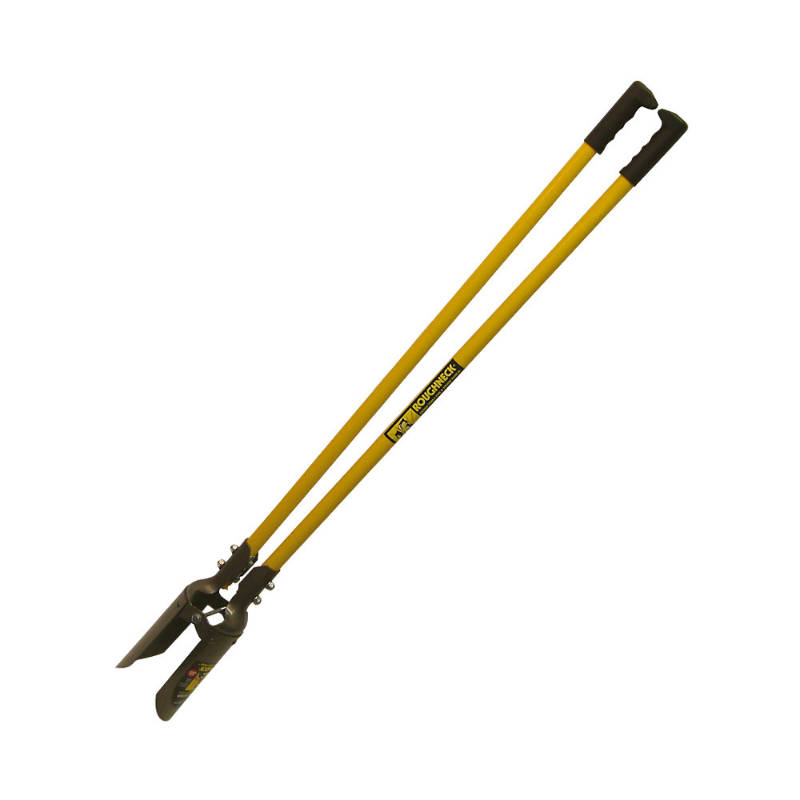
- Post hole digger
- String
- Breaker
- 2x 1 meter lengths of 50x100mm wood
- Watering can, or bucket
- Short length of batten
- Bricks for propping up
- Tape measure
- Grinder
How to erect a fence
As a rule of thumb, the fence to the left of your property if you’re facing it front-on, is the one you’re responsible for. However, this is by no means the law, and if you’re in any doubt about whose fence is whose, you can find out through the HM Land Registry website. Check as part of knowing how to erect a fence successfully – you don’t want to be working on the wrong side!
Recommended: Read our guide to learn who owns a hedge and how to deal with boundary disputes.
Once you know the fence you’re working on is definitely yours, be sure you tell your neighbour you’re putting up a new fence, and then it’s time to get clearing.
1. Clear out the old fencing
If you’re planning on shifting all of the spoil to your local rubbish dump, then make sure you have some plastic sheeting ready to either go in the back of your car or to tie everything together on your roof rack.
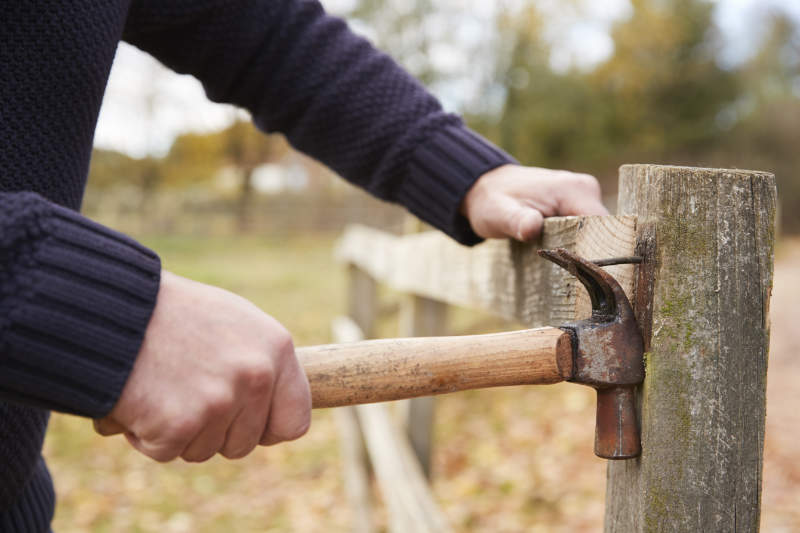
Old fences are usually pretty easy to dismantle – you’ll need a claw hammer and a panel saw, and preferably a pair of tough gardening gloves. Clear away any brambles or ivy, and use a rake and a level to roughly even out the ground.
2. Marking out and setting up
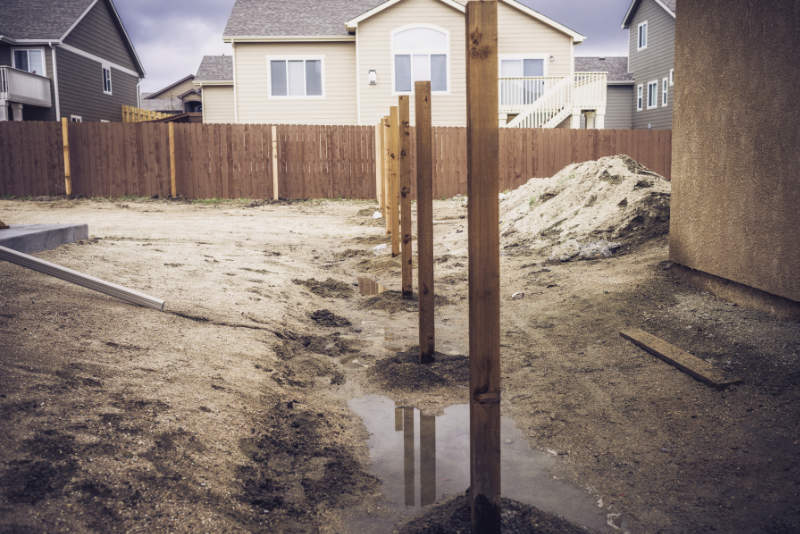
Once you have a clear run to work on and you’ve spend time researching how to erect a fence, it’s time to start marking out your fence. Start in one corner of your garden and mark a hole on the ground. It’s important that this post goes exactly in the right place, as this will set the boundary line for the whole fence.
You now need to start digging. Use a post hole digger (such as a Roughneck Fibreglass Post-Hole Digger, £39.99, Screwfix.com) to start cutting away the ground in a square about 25-30cm round.
Try to cut this hole neatly, as any extra dirt that comes out will have to be replaced with concrete. You may find that the old fence posts are still in place, or that their concrete bases are still in the ground – these have to come out. Don’t bother using a hammer drill for this, unless you are sure there is only a little concrete in the ground – hire a breaker instead (you can hire a Hilti TE3000 Heavy Duty Breaker from £88.44 for one day, HSS Hire).
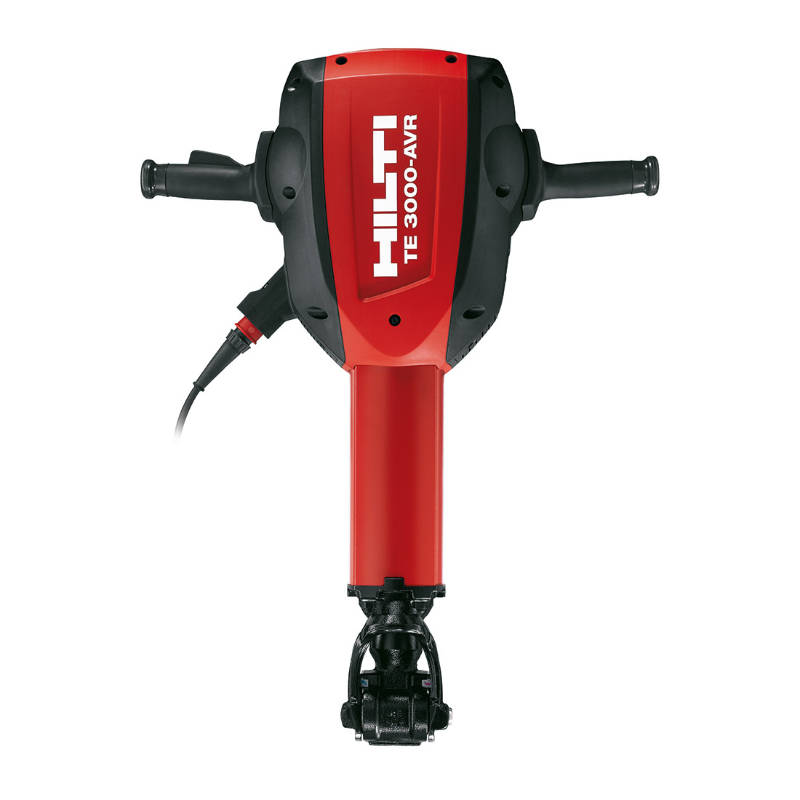
They are fun to use (if a bit noisy), and will quickly deal with whatever obstruction you have. Once all your obstructions are gone, continue digging your hole until it is 600mm deep for a 6ft fence – any shallower and your fence will blow over in strong winds.
3. How to erect a fence
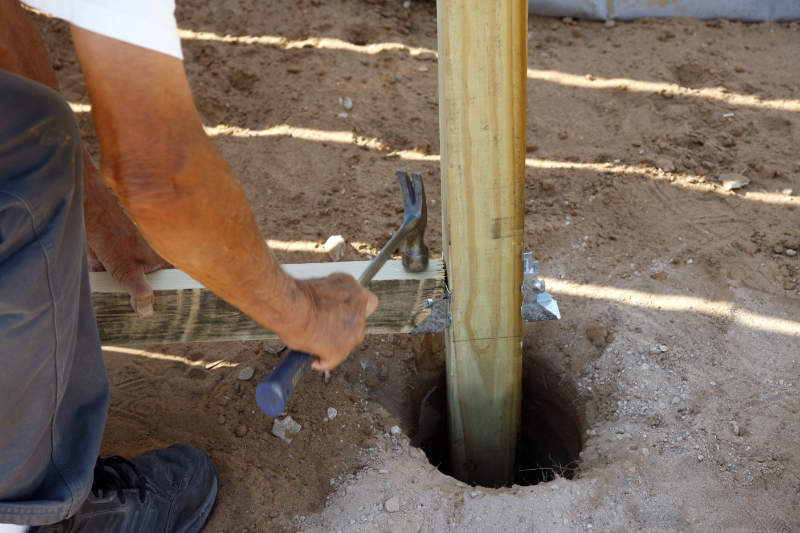
Put the first fence post into your hole, making sure the groove in the post points down the line your fence is going to go. Level it up using a spirit level. Prop the post in place with some wood wedged into the surrounding ground, so that the post stands upright without you holding it.
Now you need to set the post in place. For this you are going to use quick-setting postcrete. Most building merchants stock this and it really is the easiest way to set a post. Start by half filling your hole (with the post in it) with water, then cut the top of your bag of postcrete and pour all the powder in.
Use a piece of wooden baton to knock any air bubbles that might have formed in your hole, and continue filling with water until your concrete comes to within an inch of the surface. It usually takes one bag of postcrete to do one post, but might take a bit more if you’ve carved away more dirt from the ground than you intended.
4. How to erect a fence – continuing the run
Leave the post for 10-20 mins to set before continuing. Once your first post is set in place, use the same method as above to set a post at the far end of your garden. Tie a string line to one of the posts, about 30cm from the ground, and pull the string to the other post and tie it off. Make sure that the string doesn’t touch the ground as it is stretched across your garden.
Proceed to tie more string between the two fence posts, this time over the top of each post, so you have a guide for the height all the rest of your fence posts you’re putting in. Next, put one of your concrete gravel boards into the groove in your set fence post. These gravel boards are the exact length of the fence panels, and so are a good guide for spacing your fence posts out.
Mark where the other end of the gravel board lies on the ground and use this to dig the next post hole. It’s best to take the gravel board out while you’re digging.
Dig a hole using the same method as before, and put the gravel board back in place before putting in the fence post. Use a spirit level and a few bricks to prop the gravel board up to level. Accuracy is essential here, or the fence panels won’t fit.
Put your new fence post in the hole, making sure the gravel board is set in the posts groove. Use a spirit level and the string lines you put up earlier to position your post. You may have to take the post out and either dig some more depth in the hole, or fill it in a bit to get the post the right height. Once your post is in position, use the postcrete as described earlier.
5. Handling the final fencing section
Continue marking out, digging and installing fence posts along the length of your new fence, until you get to the far end. Now, unless you’re incredibly lucky, your last gravel board is not going to fit into your last fence post, and you will need to do some cutting. You can hire a grinder from most hire shops.
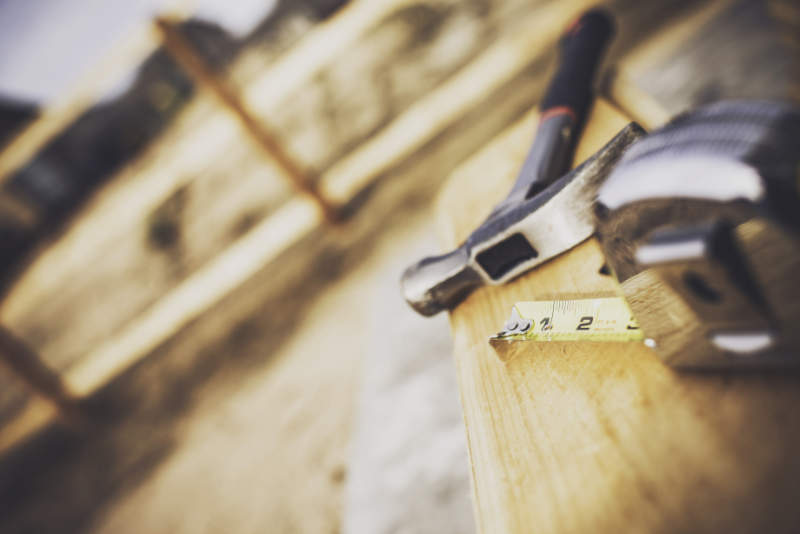
Use a tape measure to find the length of your final gravel board – remember to measure from inside the post grooves. Transfer this measurement on to your gravel board and mark it with chalk. Lay the gravel board on a stable surface, making sure there is nothing you want to stay clean behind you, as this process kicks out a fair amount of dust. Begin to cut along the line. Keep your cuts as straight as you can and run the cutting blade backwards and forwards along your line until you have cut through.
6. Installing the fencing panels
Slide your new, short gravel board into place between the fence posts. Be careful here, as you’ll be sliding it in place from the top of your fence posts. Now you can start sliding your fence panels into place – it’s good to do this with a friend, and try not to do this on a windy day or you’ll blow away!
Once you get to the final short fence panel, mark the length in the same way as you did for its corresponding gravel board. Carefully use your claw hammer to prise off the fence battens off of the part of fence you don’t need, and nail them onto the line you have marked on your panel.
Use these new battens as a guide to saw the fence panel down to size and slot into place. Rake back any dirt and soil to the gravel board, so no light can be seen along the bottom, then tidy up, go back indoors and get warm – you have done it!
Recommended: Want to redesign your garden for 2020? Here’s are some garden design ideas and tips.
Best-selling fencing tools
Stuck for inspiration? Check out our list of best-selling Amazon products!
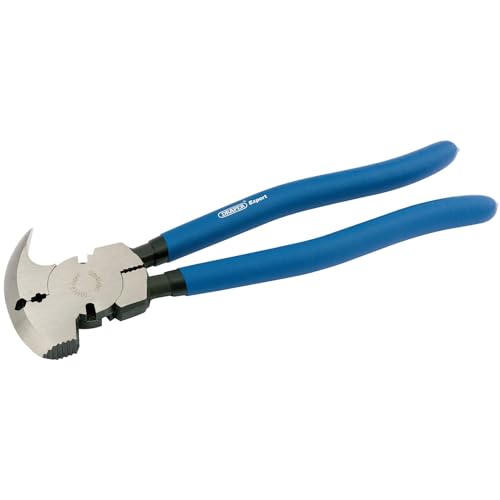
- Expert Quality
- Head incorporates a striking face
- Staple removing hook

- Tolsen Fencing Pliers Heavy Duty Fence Pliers with Wire Cutters Nail Hammer and Staple Remover
- Brand : Tolsen
- Product type: PLIERS
- Manufactured from carbon steel hardened and tempered with 600mm long handle for excellent leverage
- A pivoting 'Durbar' steel locating foot to grip any post type whilst straining wire
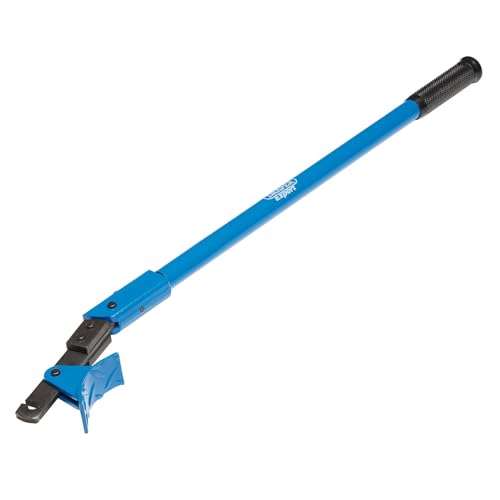
- Expert Quality
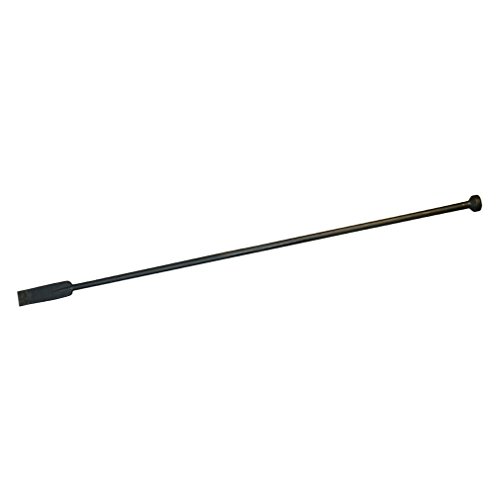
- Hardened steel 1
- 1.7m overall length
- 60mm wide mushroom tamper head

- Even Spacing – Each TidyFence will give your boards a consistent 25mm overlap with their neighbour. 25mm is the recommended overlap to give your fence adequate strength whilst also giving a sensible...
- Saves time (and your teeth!) – When feather edge fencing, always having your fence spacer at hand (literally) you can swiftly move along your fencing job leaving a wake of beautifully spaced boards....
- Super Tough and Durable – Moulded from Ultra-tough Polypropylene.
Last update on 2024-03-30 / Affiliate links / Images from Amazon Product Advertising API
You may be interested in…
This article may include affiliate links to products and services where we may receive a small fee to support the running of this site if you make a purchase or is a sponsored article from one of our select editorial partners providing valuable advice and information to our readers.


