


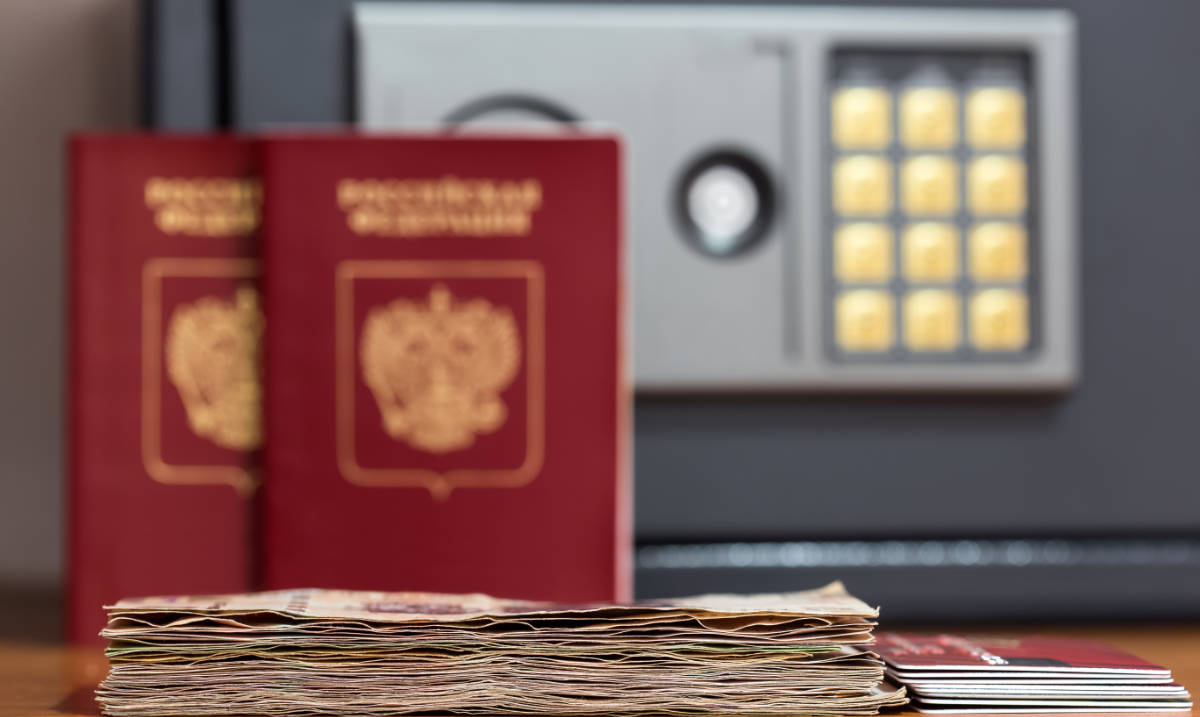
Do you own things? Valuable things? Maybe a passport or two? A bit of cash? Some jewellery? Want to keep hold of them when you’re not home? Then this is the job for you.
Wall safes are easy to install and with a picture over the front of them, they are nearly impossible to spot, too.
Recommended: Home security tips – 17 ways to secure your home and garden.
How to install a hidden wall safe
Time needed: 2 hours
This guide shows how to install a hidden wall safe in a brick wall, although stud wall mounted safes are also available.
- Check you have a suitable wall for a hidden wall safe
If you have a house with a disused fireplace, that’s the perfect place for a wall safe, as there will be a hollow void behind the chimney breast. If you don’t have a chimney breast to use, there are all sorts of other safes – under-floorboard safes, ones to bolt to the wall, fitted into stud walls – but this guide is for your classic, ‘picture on a hinge to reveal the safe underneath’ safe, to make you feel a bit like a mafia boss. Even if the USB stick inside just has back-ups of family photos, rather than the nuclear codes that James Bond is looking for.
- Choosing the right hidden wall safe
There are so many different wall safes to choose from, including ones that are fire and water-resistant, though these are considerably more expensive. Many safes are guaranteed up to a particular value of cash or goods too, which will be indicated when you buy it. Safes will also indicate how many bricks need to be removed. You can decide for yourself whether you want a key or a combination safe too. I prefer a key safe, as they’re often used so rarely you (well, I) can forget the combination code. I opted for the Burg Wachter Point Wall Safe from Safe.co.uk, which is just over £100.
- Creating the hole
Mark roughly where the safe is going and chip off some plaster until you reach the brick surface behind it. Most wall safes are designed to fit standard brick sizes, so once you’ve found the dimensions of one brick, you can work out where your safe outline will be.
You then need to do a technique called ‘stitch drilling’. Bricks are always laid in a formation known as a bond. Exactly how you build a Lego structure, this is where you lay a row (course) of bricks and then the course on top overlaps the joints. This is called ‘half bond’ and it’s the type of bricklaying you’re most likely to come across. To fit a three-brick safe, you’ll need to remove a whole brick and the whole brick two courses below, but in between, you need to remove two half bricks. To do this, you need an electric drill and a masonry bit for the ‘stitch drilling’.
Set your drill to hammer setting and drill four vertical holes through the centres of the middle two bricks, along the line of the bricks above and below. Work hard to make sure you’re drilling into these straight and level. When you’ve drilled into both middle bricks, use a heavy hammer and a bolster to break the bricks in half along the line where you’ve drilled the holes. Use your drill bit to buzz through the mortar joints on the top and bottom bricks, and you should be able to pull each of the bricks out.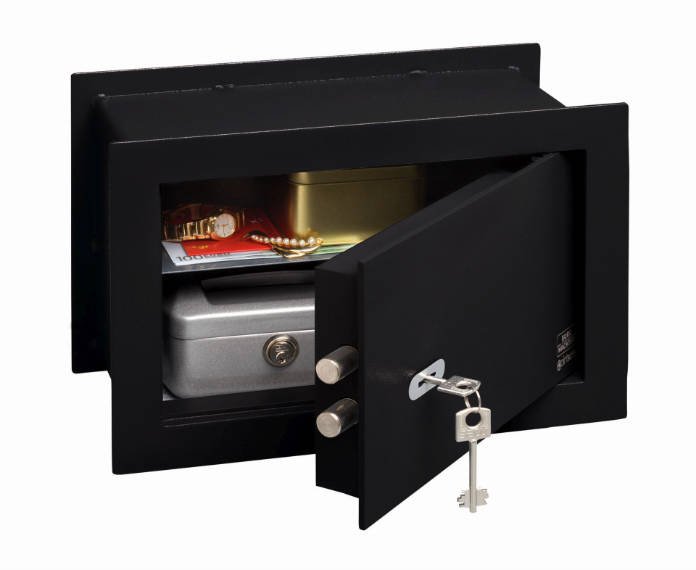
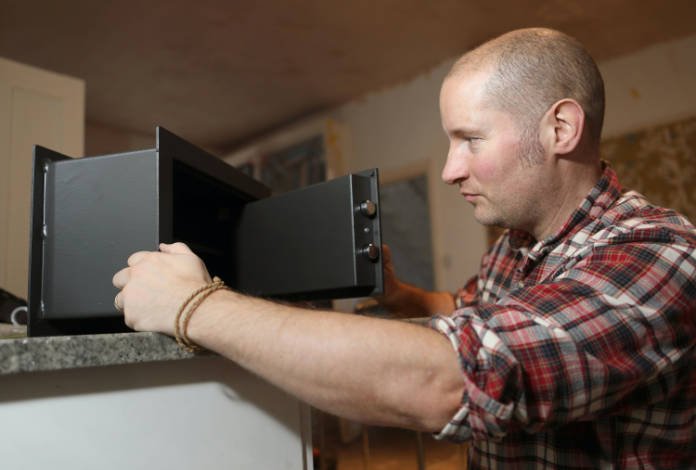
- Fitting the wall safe
Place the safe in the hole you have made and check it’s level using a spirit level – you may have to wedge a corner up with a some folded up card. When you’re fitting a safe into a wall, rather than drilling and screwing it into place, you can set it with ready-mixed concrete available cheaply from stores like B&Q, but avoid the quick-setting stuff.
Wedge your safe into the hole and sit it on two small wooden blocks or pieces of cardboard. Wedge the sides too, so there are small gaps all around the safe. Mix your concrete in the tub, but you’ll need two things to apply it – a plastering hawk (or a square of wood if you don’t want to get one of these) and a pointing trowel.
Dollop your concrete onto your hawk and chop it with your trowel. Gradually poke small amounts of the concrete into the cavity all around your safe, using your trowel to smooth it down. Check with your spirit level that the safe and the cement are flush with the wall and leave it to set overnight.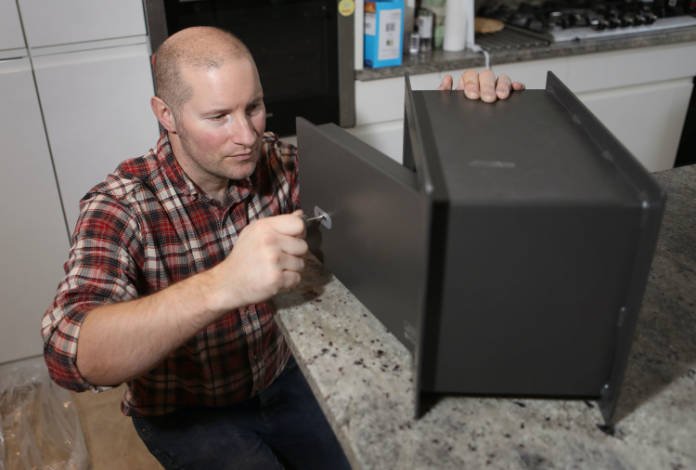
- Hiding the safe
The main thing to remember when it comes to finishing off the job, is that you’re probably going to cover the safe with a picture, so it doesn’t need to be perfect underneath. But where your plaster has been chipped away, fill this in with multi-purpose Polyfilla and when dry, paint this the same colour as your wall. You can then hang a picture over the safe or, if you’re feeling like a real gangster, attach the picture to the wall with a hinge and a magnetic catch for extra drama. Now, forget I said any of this and don’t go looking behind any of the pictures in my house, capeesh?

This article may include affiliate links to products and services where we may receive a small fee to support the running of this site if you make a purchase or is a sponsored article from one of our select editorial partners providing valuable advice and information to our readers.


