Nothing puts a downer on the start of the day like stepping into the shower – and locking eyes with blackened, moulding grout around your tiles.
Maintaining bathroom grout can be a nuisance, but putting the job off for months (or even years!) only leads to bigger problems. That’s where our guide to how to clean and regrout bathroom tiles comes in.
When to clean and regrout bathroom tiles
While it’s always important to clean your grout regularly – think at least once a week – to prolong its longevity, the time will eventually come where it needs replacing. Grout is a very porous concrete, which will inevitably begin to rot no matter how clean your home is – but there needn’t be a fixed cycle for re-grouting. It’s a process which ought to be conducted as and when necessary, and this will obviously be less often when you maintain good household hygiene.
End of tenancy cleaning Milton Keynes say that if it’s looking aged, but not quite ready for replacement, then try out a grout reviver, such as Unibond Ice White Grout Reviver Pen 7ml, a great way to inject some life back into old, tired tiles. Using the pen applicator, simply follow along the lines to cover over old grout, leave to dry for an hour, then wipe the area clean with a damp cloth.
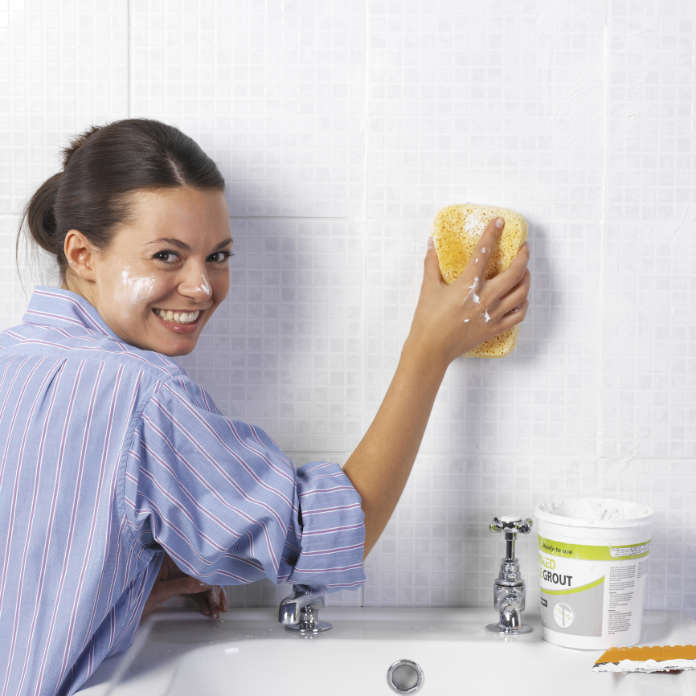
If you’ve got a large area of grout which needs replacing, try Unibond Wall Tile Adhesive & Grout with Anti-Mould. For smaller jobs, give Unibond Ice White Grout Reviver 125ml a go.
Read our guide to spring cleaning hacks to quickly clean and tidy your home.
How to clean and regrout bathroom tiles – a guide
Time needed: 2 hours
Re-grouting isn’t necessarily the arduous task you’ve been fearing. With the right tools and safety precautions, you could get the job done in as little as an afternoon. Granted, it’s not the most exciting way to spend your day off, but it’s one of the easiest DIY tricks you can add to your arsenal. Plus knowing how to clean and regrout bathroom tiles will save you money to work on it yourself, rather than paying someone else.
- Prepare the area to be regrouted
Make sure you cover and protect around the area you’ll be re-grouting with a dust sheet (Robert Dyas sells multi-packs for less than a fiver). If you’re working above a sink or bath, then take care to put the plug in too, to prevent any grout from going down the drain and causing blockages.
It’s important you crack open a window to ventilate the room, as there will be a lot of dust flying about. If this isn’t possible, then you must wear a breathing mask instead; the cement particles in the air won’t do your lungs any good.
It’s also vital you protect your eyes behind some tight-fitting safety goggles for the same reason – a grout particle to the eye is not the reason you want to be hitting A&E any time soon.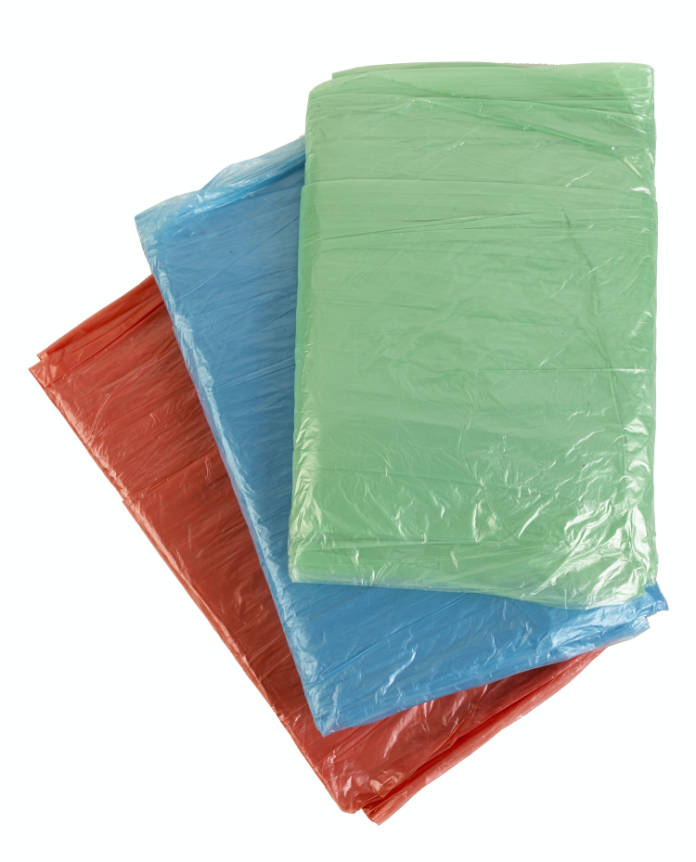
- Grind and scrape the old grout
Grout rakes are your best bet for small re-grouting projects, as they’re a quick and effective way to manually strip out old grout. Starting at the corner of your tiles, allow the blade teeth to cut into the grout, slicing firmly in one direction. The grout will then spiral free or become loose enough to be gently pulled away.
An electric grout remover – such as the Bosch PMF 190 E Electric 190W All Rounder Multifunctional Tool (£79.99, Homebase) – is ideal on larger areas, as it is much less labour intensive. When using an electric grout remover, be sure to start in the middle of the tile joint instead of the corner, as the rotating blades could otherwise cause your tiling to become chipped. Begin on the vertical joints before moving onto the horizontal ones.
Strip the grout to the thickness of the tile. Once the grout has been removed, wipe over the entire surface with a damp sponge.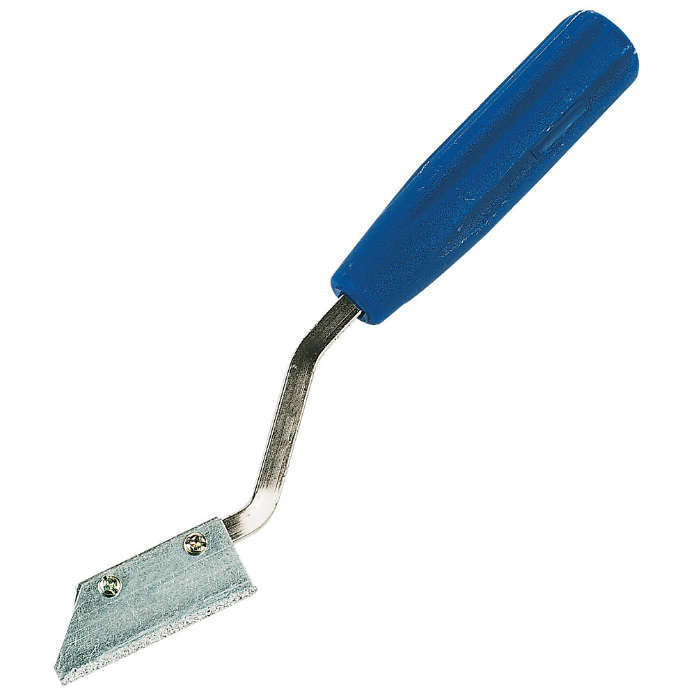
- Applying the new grout
Mix up the new, fresh grout according to package instructions, or if it’s pre-prepared, then just squeeze it into your grout spreader and get going.
Work the fresh grout into the joints – and don’t worry too much about any mess at this stage, it really doesn’t need to be perfect. Do keep things clean as you go, but focus primarily on filling all the joints first. Once they’re done, you can remove any excess. You’re going to want to plough ahead at a steady pace, as the grout will begin to harden.
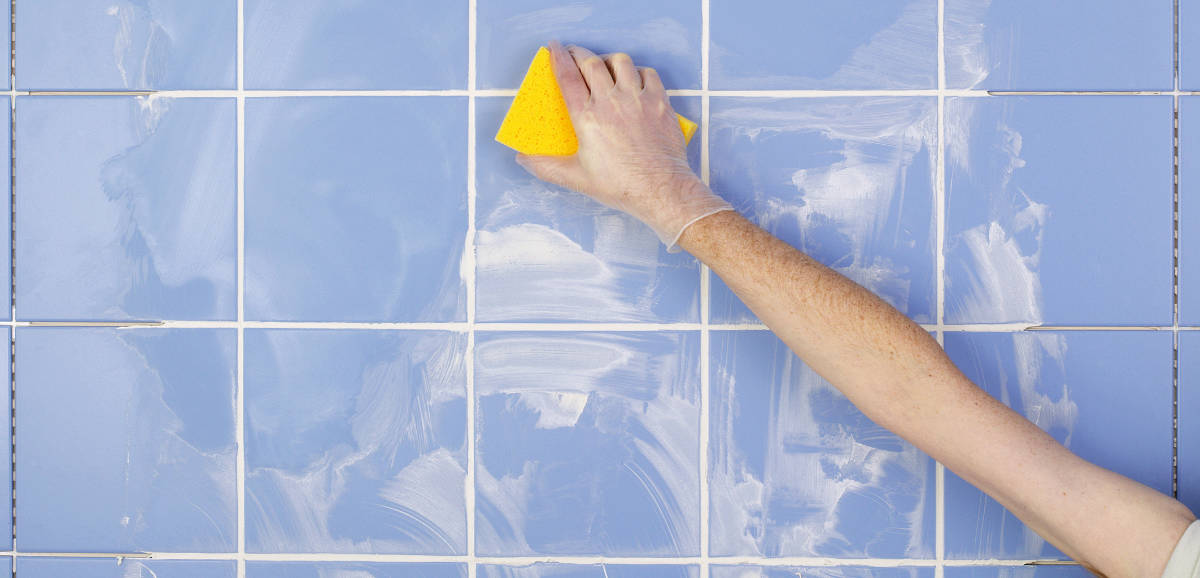
Let the grout set for about 20 minutes until a film develops over the tile, and then thoroughly clean the area. Wipe away the excess grout and film off the face of the tiles with a damp sponge, rinsing often.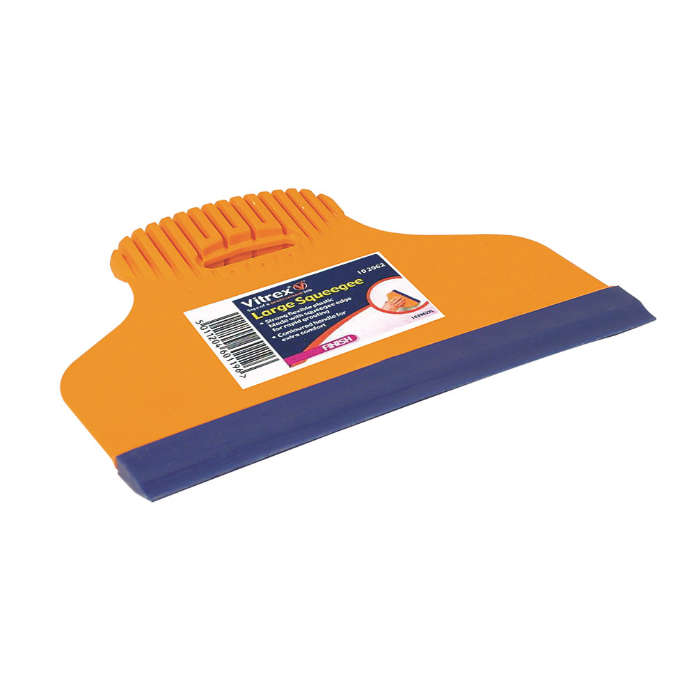
- Finishing and polishing
Using a grout finishing tool (you can pick these up for under a fiver at hardware and DYI stores), drag the rounded end evenly over the joints with smooth, sweeping motions to create an even looking finish.
Leave to dry again for around three hours, then use a soft, clean sponge to polish away any film which has formed over the grout. And finally – congratulations – you’ve thoroughly re-grouted your bathroom tiles!


