


Even if you only have room for one pot in the smallest space, plant some tulips in it to make your garden or house spring to life, says Hannah Stephenson.
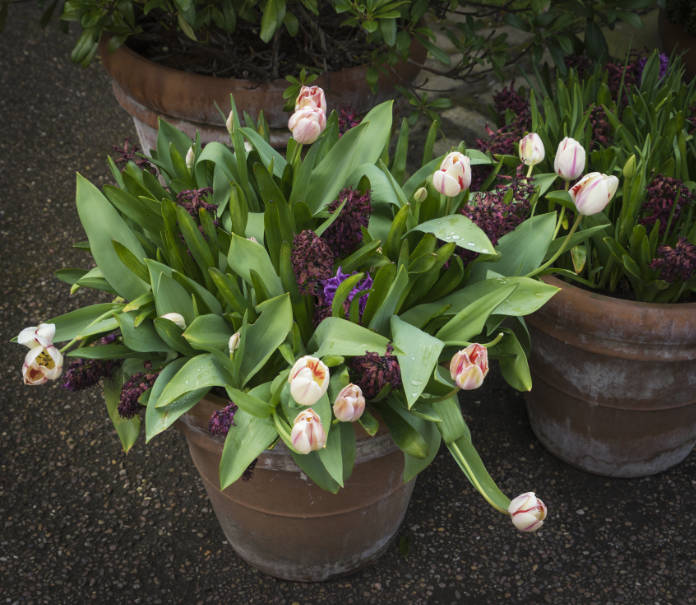
Don’t despair if you only have a small space because tulips can work in pots too, whether you want a clutch of scorching reds or sizzling yellows, or a more subtle display of whites or soft pinks.
Tulips are among the last spring bulbs you can plant. November is the ideal time as the colder temperatures can help stop tulip fire disease and other fungal and viral diseases which remain in the soil when it is warmer.
How to choose the right tulips for your pots
1. Opt for shorter stemmed types in smaller pots

The varieties which don’t grow too tall look best and tend to stay upright in windy conditions. Also, make sure you keep the size of the tulips in proportion to the size of your pot. You can use any sized pot to fit your space and use however many tulips you like to fill it as tulips don’t mind being a bit crowded in their pot.
2. For a wow factor, go for a block colour
It’s very much up to personal taste, but in a small space, one colour goes a long way. You might also prefer to plant one cultivar per pot, but you can become more adventurous with bigger containers. As a rule, the bigger the container, the more variety of colour you can have.
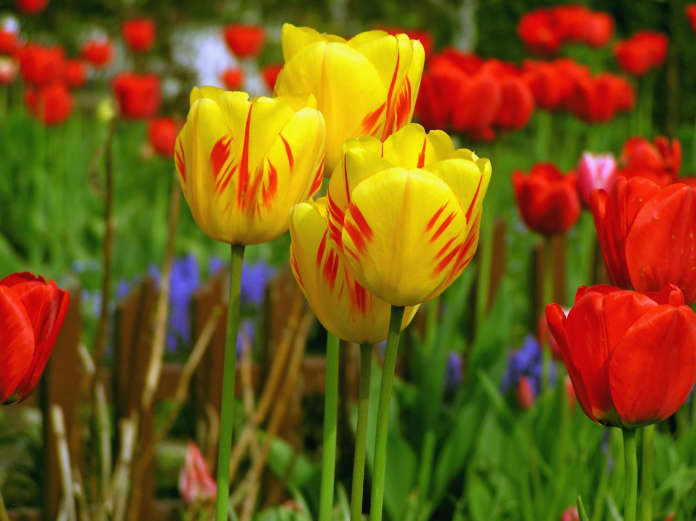
Some people prefer two contrasting colours such as red and yellow in a pot – their clashing tones will bring a dull area alive.
3. Choose tulips that flower at the same time
If you are planting different types of tulips together as a combination of colour and form, make sure they bloom at the same time. So, two types from the same group, such as Parrot, Triumph, or Single Late, should flower simultaneously.
If you want your pot to have a longer flowering period so that your tulips bloom at different times, bear in mind that the earlier flowering candidate is likely to have wilted leaves and faded petals by the time the later variety is in flower, which can spoil the overall look.
4. Select contrasting blooms to lengthen interest period
If you want earlier flowers add crocuses to the outer edge of the pot, which will provide late winter colour before the tulip leaves cover them up when the crocuses are dying down. Other good foils for tulips include muscari and Anemone blanda.
Tall, sleek lily-flowering tulips are complemented with low-growing foliage plants such as dwarf hebes, thyme and helichrysum. Blue forget-me-nots go well with early double tulips in virtually any colour.
5. Choose tried and tested varieties
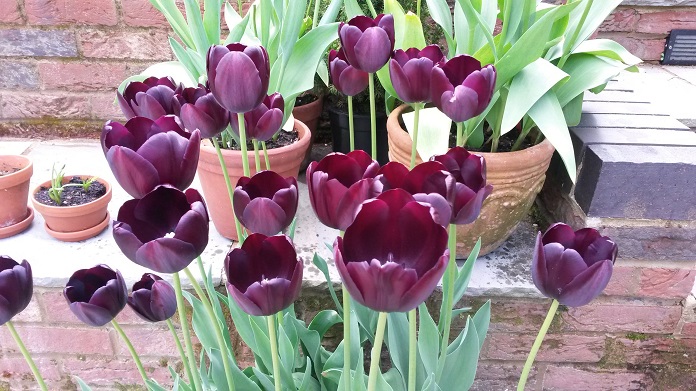
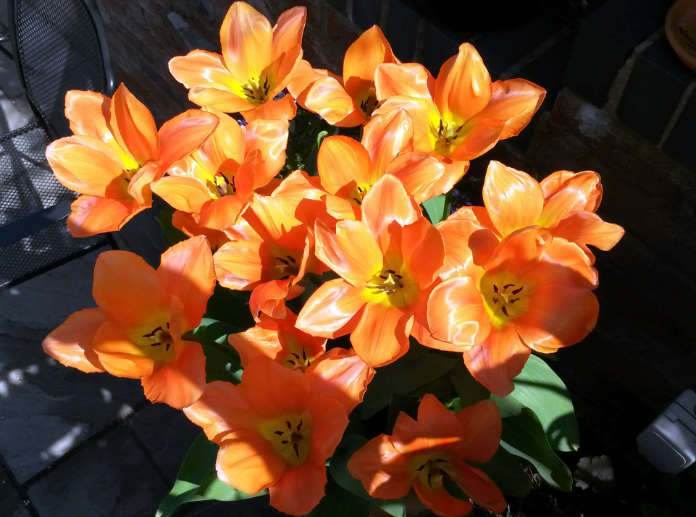
Well-established favourites for pots include Tulipa ‘Ballerina’, a weather-resistant lily-flowered type with rich orange blooms, ‘Queen of Night’, which has tall, strong stems which carry purple-black flowers, or the compact variety ‘Peppermint’, whose closed red flowers open to reveal a white marking.
For shallow containers go for a dwarf or specie variety such as ‘Red Riding Hood’ or ‘Lady Jane’, which produces pencil-thin flowerbuds which open to delicate-looking flowers which are deep pink on the outside and white and yellow in the middle.
Step by step guide to planting tulips
Here’s our tips for planting tulips in pots and in your borders.
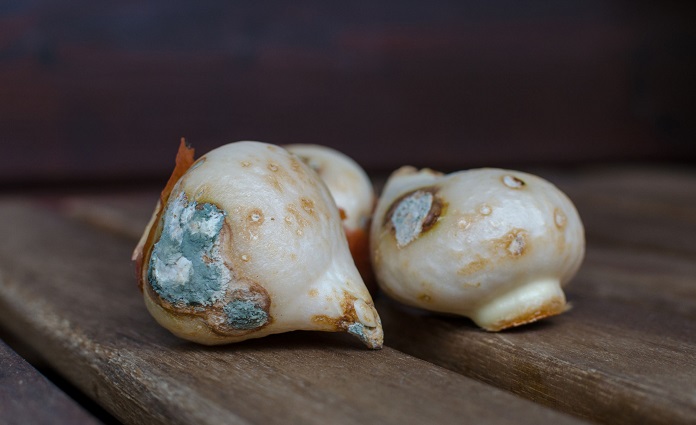
1. Check your bulbs
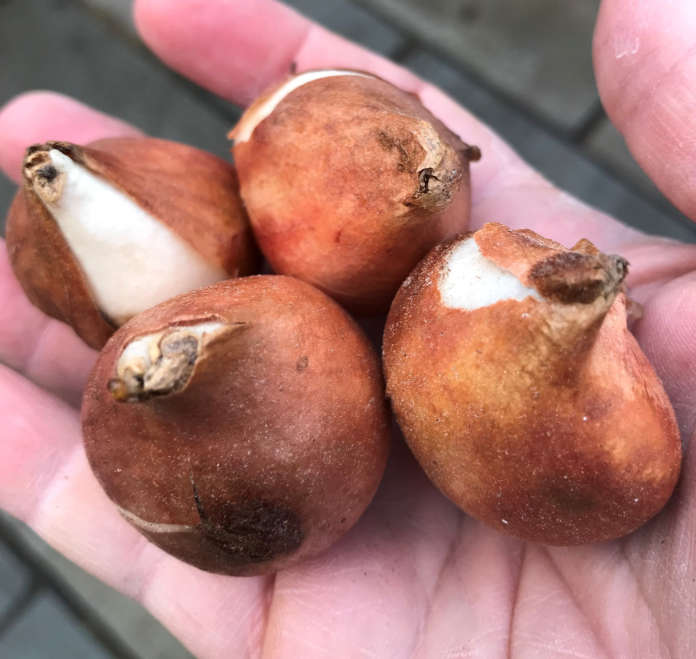
Make sure none of the bulbs are soft or look rotten and if there are any, discard them. Bulbs should be firm to the touch with no signs of damage or disease.
2. Plant them at the right depth
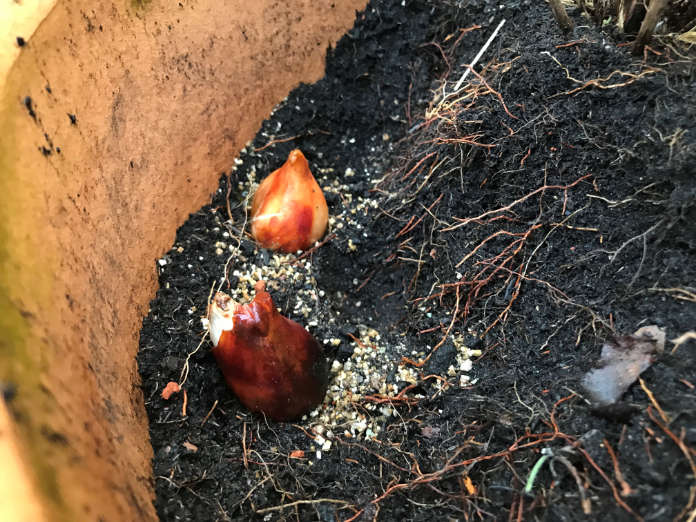
Choose a sunny spot and plant at three to four times the depth of the bulb, or deeper. The bulbs should be placed pointed side uppermost into a mixture of spent compost and added grit, to aid drainage. Throw a handful of bulb food into the mix, following the instructions on the packet, then backfill with the gritty compost.
3. Keep them well drained
The most important thing is not to let the bulbs remain too wet over winter, or they are likely to go rotten, so keep your soil mix light and well-drained. If you have heavy soil, add extra grit and sand to the base of the planting hole and place the bulbs on top of it.
If you are adding bulbs to containers, make sure the pots have plenty of drainage holes and crocks in the bottom and prop them up on pot feet to stop excess moisture seeping up from below.
5. Plant tulips in groups

Tulips need to be planted in groups of at least three, and in larger containers more, for the best visual impact. You can plant them closer together in containers than you would in beds and borders, but don’t let them touch. Plant several clumps of the same varieties through your border for maximum impact.
6. Keep them sheltered in the depths of winter
Tulips like a period of dormancy and they don’t want to be saturated, so move them to a sheltered location in the worst winter weather, moving them into their flowering position in spring. Make sure they don’t completely dry out, though, as this can lead to stunted growth.
4. Repeat plant
If you are planting tulips in a border, you may want to improve the effect by repeat-planting clumps of the same variety through the border.
5. To lift or not to lift?
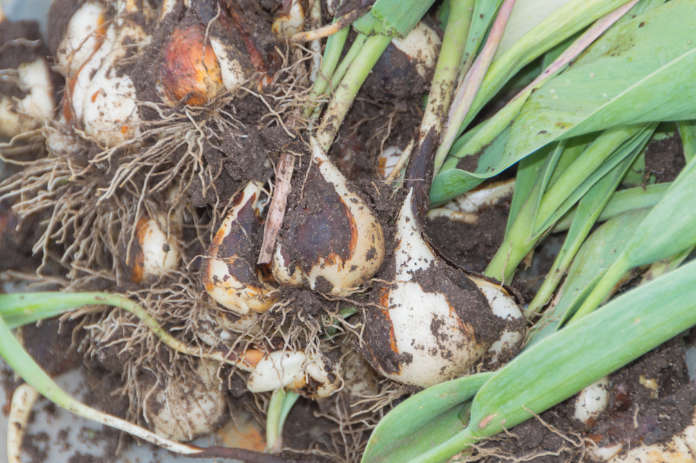
Some tulips are not winter hardy and will need lifting once they have died down properly and the foliage has gone brown, which often happens in early summer. Leaving them to fully die down allows the bulb to store more food and produce flowers the following year.
When you dig the bulbs up, shake off any excess soil and remove any bulblets which will take energy from the parent plant. Make sure they are dry before storing them on newspaper and putting them in a greenhouse or shed until you plant them back out next year.
Some gardeners leave bulbs in over winter and mulch the area, and some tulips do come back, although they are often not as colourful as they appeared originally.
Tulips are, however, often treated as annuals and if you don’t want straggly leaves in your flower bed in early summer, then dig them up and start again.
You might also be interested in…


