


Whether you are a seasoned DIYer or are only just getting started with your new hobby, this summer is all about making the most of your outdoor space.
Here, celebrity builder Craig Phillips, who won the first series of Big Brother and is also a property developer, shares two quick and easy garden builds.
Both of these projects – to make a back garden bar or cute birdhouse – will help you get the most out of your own backyard while enjoying some DIY downtime.
1. Back Garden Bar
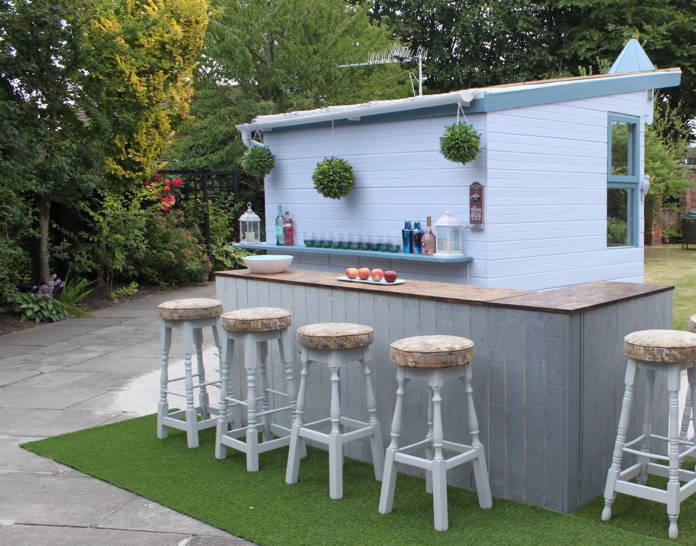
What better way to unwind on a warm evening than enjoying a drink in your own garden?
This DIY bar could be the perfect place to host a small social gathering – and your new local just got closer!
You’ll need: Recycled pallet wood (for sides of bar), OSB structural board (for bar top), screws, nails, glue, drill, hand saw, furniture wax, paint (you pick the colour).
Steps: Measure your space and draw up a design to fit. The bar could be a simple, linear structure or an L shape, for example. Remember to include dimensions to ensure there is no confusion when you get underway. Take the pallets apart, de-nail them and sand them down so they are easy to work with.
Use the underside of the pallets for the frame of the bar structure. Measure and cut the four pieces of wood that make the legs of the structure using a saw.
Fix two of the legs together by cutting two more pieces from the underside wood, which match the width of your design. Using your drill and some screws, join the legs together at the top and bottom, so the finished shape resembles an outline of a rectangle.
Repeat the above two steps for the remaining two legs.
Cut six more pieces from the underside wood to the length of your bar design. These will be used to join the two sides together, with two lengths across the top, bottom and in the middle of the structure.
To clad the sides of the bar, use the slats of the pallets. Apply glue to the structure, place a slat down and then nail it. They may be too long, but once they are all secured down, you can cut them to the right size.
For the bar top, place the OSB on the cladded structure. Leaving a little bit of a hangover on each side, cut the board to size. Before you fix the top, paint the sides of the base structure in your chosen colour and apply one coat of furniture wax to the OSB board. Screw the bar top into the base and apply another coat of wax.
These are the instructions for a simple, linear bar, but if your design is more complex, an L shape, for example, repeat as necessary for each section.
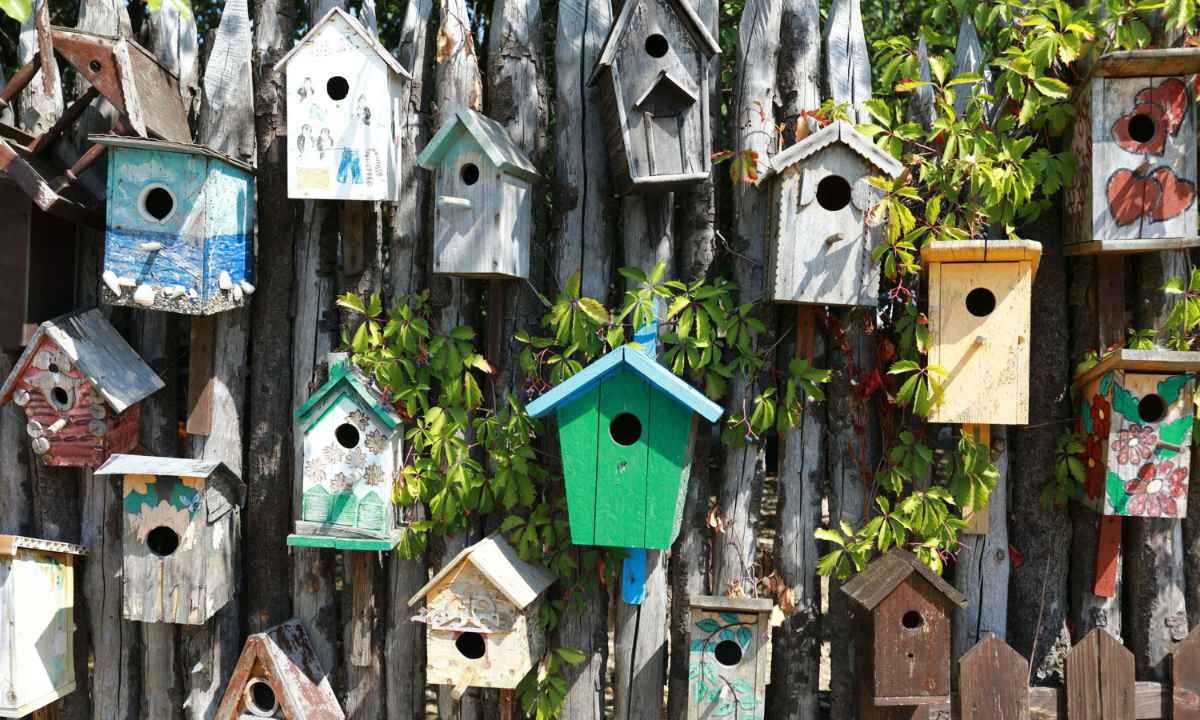
2. Birdhouse
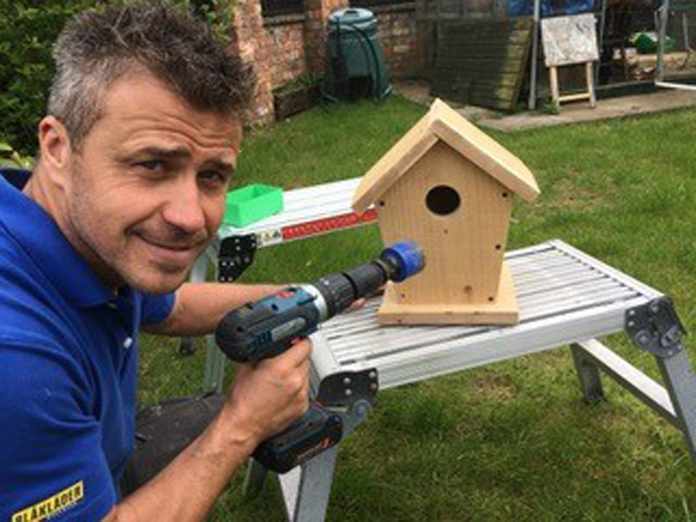
Putting up a birdhouse is a great way to attract nature and new life to your garden.
Easy to build and decorate, this project can be a fun activity to involve the kids in too, though it will need close adult supervision. If birds later move in, the children will be so excited!
You’ll need: Wood, saw, drill, tape measure, hammer, nails, glue.
Steps: Cut a piece of wood 170mm wide and 300mm long for the back panel of the bird house. For the side panels, you’ll need to cut two pieces that are 230mm long and 100mm wide.
The top edges of these, which will join with the roof of the structure, will be slanted. So, from one corner, cut the edge at a 45 degree slant. Repeat this on both pieces of wood.
For the front panel, cut a piece of wood 170mm wide and the same height as the shorter length of the side panels. The top edge of this piece needs to be cut at a 45 degree angle so that when the slanted roof is placed on top, this panel adjoins with it perfectly.
For the base, cut a piece which is 170mm in length and 100mm wide.
The roof should hang over the front panel by 30mm. However, like the front panel, the back edge, which will join with the back panel, needs to be cut at a 45 degree angle so it fits against it seamlessly.
Lay the back panel flat on your table. Glue the side panels onto the back panel and then the base to the back and sides. Glue the front panel to the sides and base, ensuring that slanted edge aligns with the slanted edges of the side panels. Hammer in some nails along the glued joints for greater security.
On the front panel, draw a small circle in the centre. Cut out the circle with a drill. This is where birds will enter the house.
Drill a smaller hole directly underneath. This should be just wide enough for a dowel to fit, so the bird has something to stand on. Rather than drilling all the way through, drill half way through the depth of the front panel, fill it with glue and stick the dowel in.
Using glue and nails, fix the roof onto the house. On the overlapping section of the back panel, drill a hole in each corner so it can be secured to a tree, wall or fence etc. Sand the edges, decorate and place your birdhouse where you wish.
For more DIY build ideas, visit CraigPhillips.co.uk
Read more: How to build alcove shelves – step-by-step guide to DIY alcove shelving


