


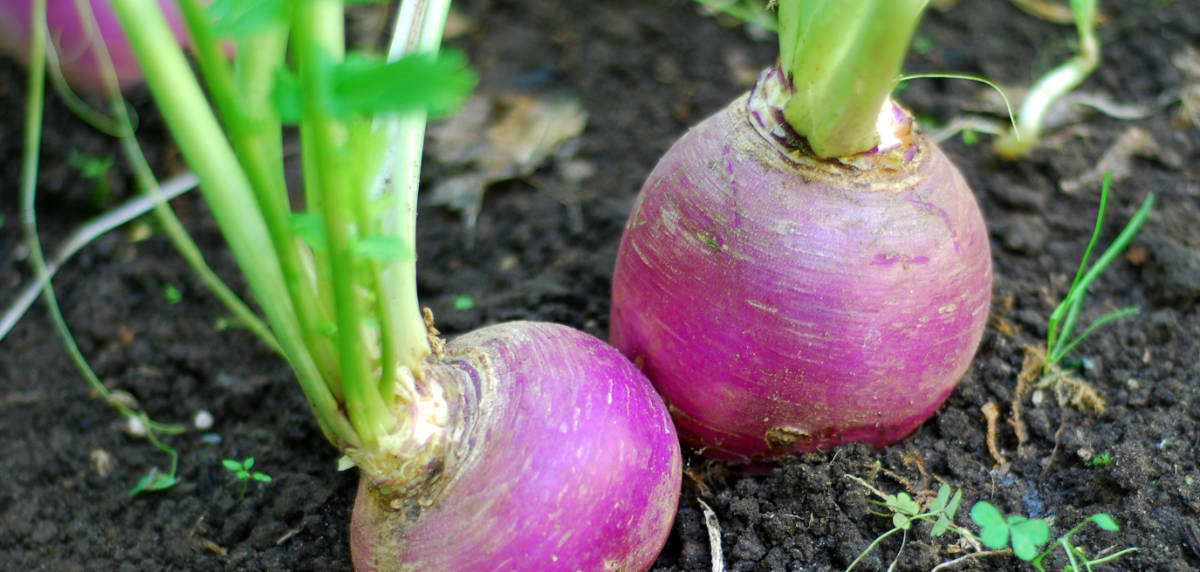
Have you always wanted to grow turnips but not been sure where to start? We take you through growing your own turnips at home.
If you’re planning your allotment crops, vegetable plots or even just a large pot to grow your own in, consider giving some space to turnips, which are easy to grow and which you can leave in the ground through the winter until you need them.
If you’re planning your allotment crops, vegetable plots or even just a large pot to grow your own in, consider giving some space to turnips. They are easy to grow and you can leave them in the ground through the winter until you need them.
They prefer cool, moist conditions, so are ideally suited to cultivating in the winter, but the maincrop varieties which you’ll be eating in the New Year are sown in mid-summer.
How to grow turnips…
On the allotment
Turnips are brassicas, the group with includes includes all cabbages, cauliflowers, kale, Brussels sprouts and broccoli, as well as swede, turnips, radish and winter salad crops, such as rocket and the oriental mustards.
If you have an allotment or designated vegetable patch, use crop rotation and grow turnips after legumes such as broad beans, peas or French beans. The turnips will absorb the nitrogen the previous crops have left in the soil.
Prepare the soil
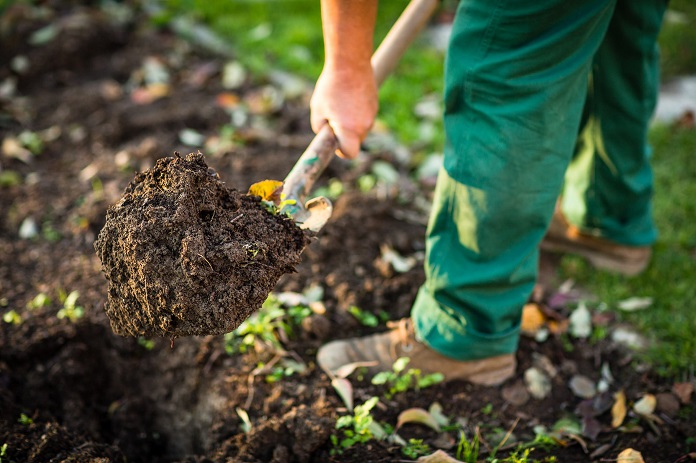
Add a surface mulch of well-rotted compost to the soil before planting.
For early varieties, soil should be prepared in autumn before planting. You can test how acidic your soil is by using a soil testing kit from a garden centre. If it is pH6 or below, then a dressing of lime a week or two before planting will help raise the pH.
Sow early varieties including ‘Milan Purple Top’ under cloches, ideally in their final growing places in February, sowing thinly and spacing between rows 23-30cm (9-12in) apart.
After preparing the soil, firm it down before you plant them. As they grow they will become top heavy and can loosen if they’re not well secured.
Give maincrop types more space
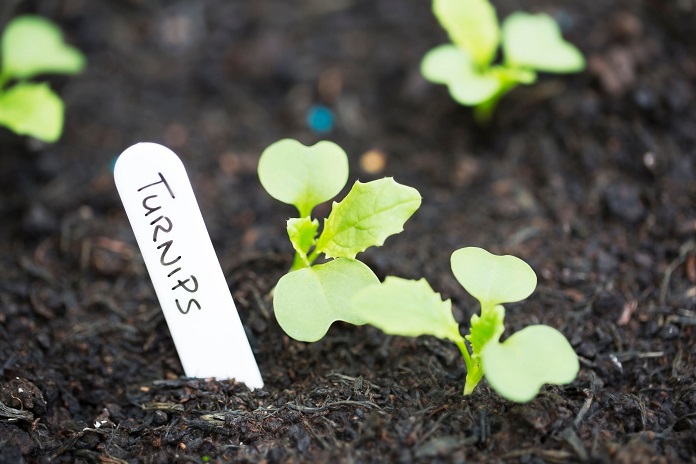
Maincrop varieties, which can be harvested from mid-October, will need more space to develop a deeper root. Sow these varieties between July and August.
They need a firm, non-acid soil with reasonable drainage in a sunny spot. Rows should be sown very thinly – about 30cm apart and thin them out as soon as the seedlings are large enough to handle.
Weed and water
Keep weeds at bay by hoeing regularly around the plants. You should also water them regularly during dry, hot summers to keep the roots sweet and juicy. Don’t let the soil dry out or the turnips will become woody and tough, and may develop split skins.
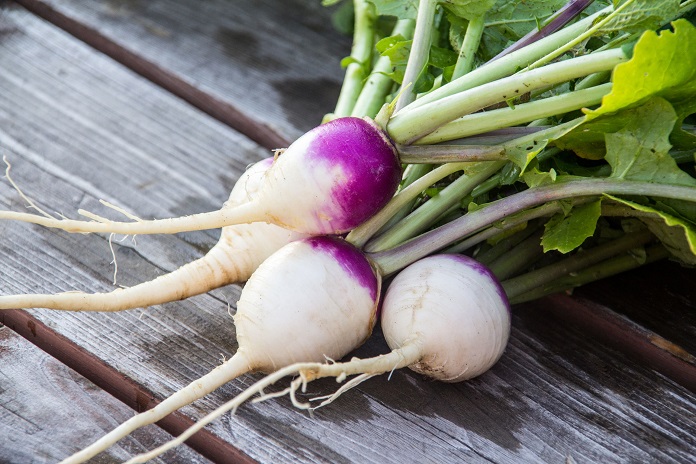
They should be ready for lifting in October, when they are large enough to use – about the size of a golf ball. Alternatively, in most areas you can leave them in the ground and lift as required.
Good maincrop varieties include ‘Manchester Market’, ‘Golden Ball’ and ‘Champion Green Top Yellow’.
Crop hazards
The main problem with turnips is clubroot and cabbage root fly. White larvae, around 5cm (2in) long, feed on roots just below the soil surface, stunting growth and causing plants to wilt and die.
To prevent cabbage root fly invading, grow the turnips at seedling stage under insect mesh or horticultural fleece.
You might also be interested in…


